



You open the microwave door and there it is. A dried arc of tomato sauce on the ceiling. A sticky brown ring where the turntable sits. And the faint ghost of last night's salmon, which an hour of airing out didn't shift.
It's a mess you've been walking past for a week, and it takes less effort to fix than the avoidance is costing you. Cleaning a microwave well is mostly about knowing what to leave alone. The cavity is coated steel with a door seal, a vent path and a roller track, and every one of those parts responds badly to force. Scouring too hard or letting water run into the vents does more damage than the splatter ever will.
There's also a difference between wiping up soup and dealing with a leaking chicken container. Everyday grime needs soap, water and patience. Raw meat juice needs disinfection, because smearing it around the cavity with a damp cloth just spreads the problem.
Warm water and a few drops of mild dish soap handle almost everything a home kitchen throws at it, and the steps below show how.
How to Clean the Inside of Your Microwave Step by Step
Start with the regulator's position, because it's simpler than the shelf of sprays suggests. The U.S. Food and Drug Administration's guidance on microwave ovens says to clean the cavity, the cavity's outer edge and the door with water and a mild detergent, and states plainly that a special microwave-oven cleaner is unnecessary. The same page warns that scouring pads, steel wool and other abrasives scratch surfaces and can damage the door-sealing areas.
So the shopping list is short: a soft cloth or sponge, mild dish soap, warm water, a dry towel, and nothing with grit in it.
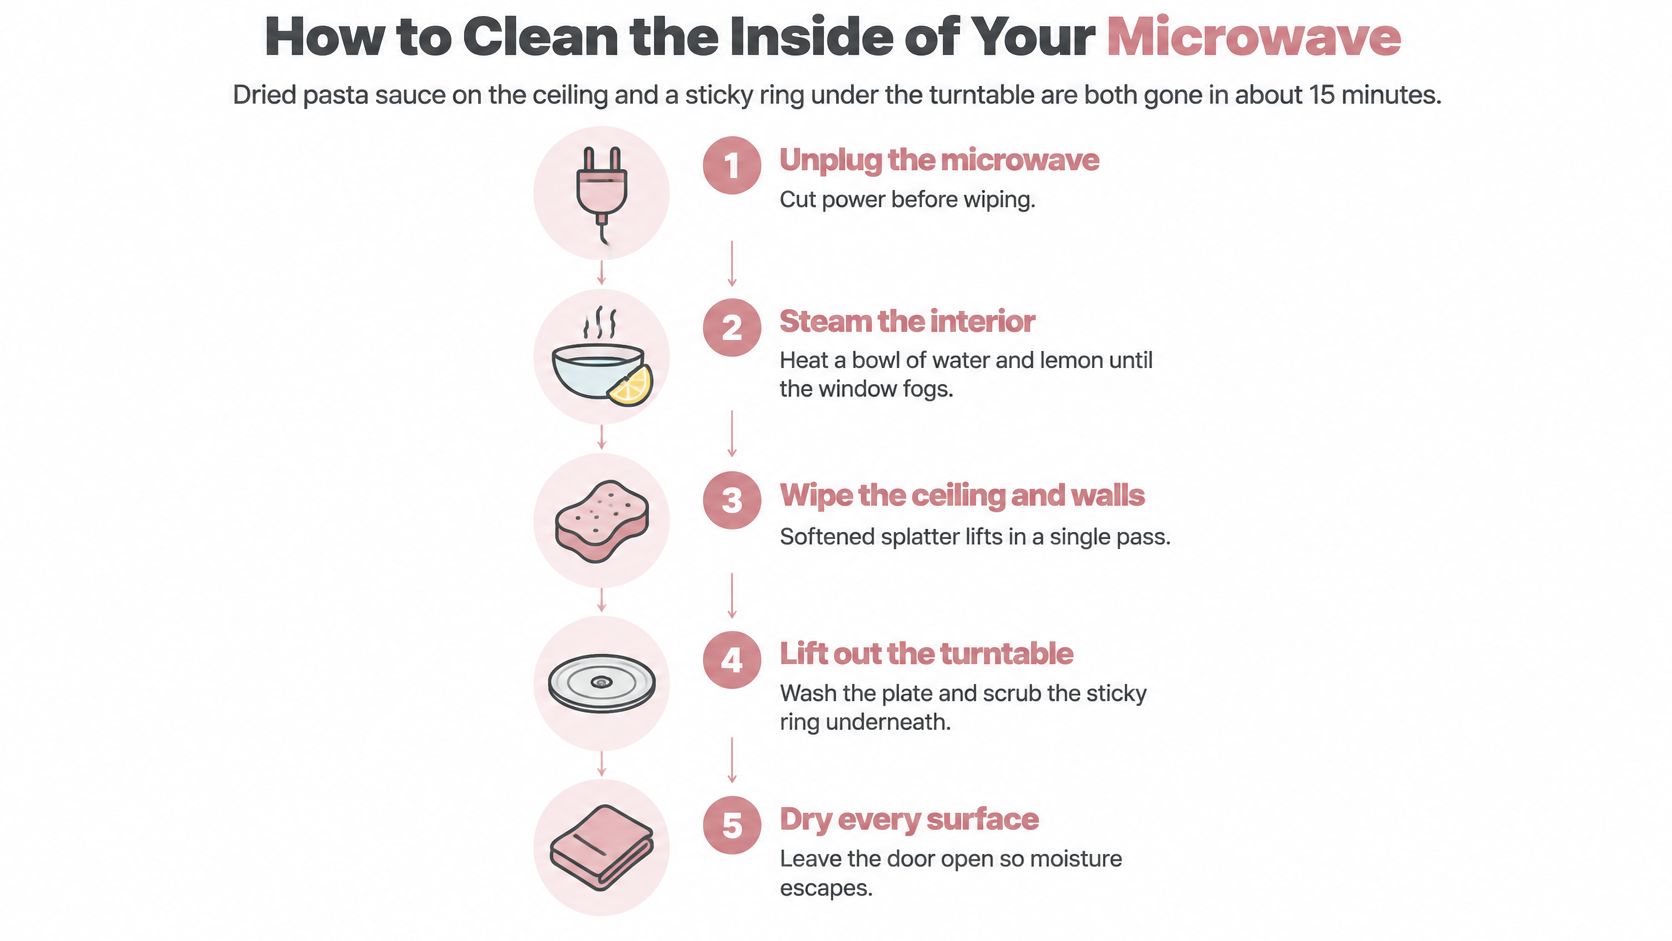
The Seven Steps in Order
- Cut the power. Unplug the unit if your manual allows it. If the outlet is buried behind a cabinet or the appliance is hardwired, switch off the breaker rather than wiping around a live machine.
- Lift out the glass tray and roller ring. Wash them in warm water with a few drops of dish soap. Grease collects in the track beneath the ring, which is exactly where that sticky ring comes from.
- Brush out loose crumbs dry. A dry paper towel first, before any water touches the cavity. Wet crumbs turn into paste that smears into corners and sets hard again.
- Wipe ceiling, walls, then floor. Use a soft cloth wrung out in warm soapy water and work top to bottom, so drips land on surfaces you haven't cleaned yet.
- Do the cavity edge and the door. Same cloth, including the seal area. Splatter hides in that seam, and the door's ability to close cleanly is decided there.
- Rinse with clean water. Soap film smells when it heats and leaves tacky patches that grab the next round of dust.
- Dry everything and reassemble. Seat the roller ring flat in its track, set the turntable on it, and spin it once by hand to confirm it turns freely.
Why Scouring Does More Harm Than the Grime
An abrasive pad strips the finish off a coated cavity in one aggressive pass. The scratches it leaves hold food better than the smooth surface did, so the next cleaning is harder than this one. That's the trade you make when you reach for steel wool to shift a spot a warm, wet cloth would have lifted after two minutes of contact.
The same logic runs through any surface with a finish worth keeping. Safe cleaning for delicate facility surfaces is about matching the product to the material rather than grabbing the strongest bottle under the sink, and a microwave cavity is no different.
The Three-Point Finish Check
Before the door closes on the job, run three checks.
- Dry to the touch. Run a fingertip along the floor of the cavity and around the door seal. A damp patch will steam back into the vents.
- No soap smell. Open the door and breathe in. If you catch detergent, rinse and dry again.
- The turntable spins. Give it a nudge. A tray that wobbles or grinds means the ring isn't seated.
Steam Recipes That Loosen Baked-On Food
Heat is what bonded the residue to the wall in the first place, so heat is what lifts it. Steam works its way between the food and the coating and breaks the bond from underneath. The wipe afterwards takes almost no pressure, which is the whole point: you're removing the need to scrub rather than scrubbing harder.
The Default Method
Start with the plainest version. General Electric's cleaning instructions call for one cup of water heated on full power for three minutes, then five minutes of standing time with the door shut so the heat and steam loosen residue, then a wipe with a cloth or sponge. Say a bowl of tomato sauce burst across the ceiling on Tuesday night and by Saturday it's a hard orange shell. Three minutes of steam and five minutes of patience turn it back into something a cloth takes off in one pass.
When to Reach for Lemon or Vinegar
Plain water handles grease and starch. Three additions change what the steam does.
- Lemon juice for smell. Consumer Reports suggests a quarter cup of lemon juice in a bowl of water, microwaved on high for one minute, which suits light odors better than heavy soil.
- Vinegar for grease. Wirecutter uses two cups of water with two tablespoons of vinegar for five minutes, then a ten-minute rest with the door closed. That's the version for a cavity that's been neglected for months.
- A measured bowl for built-in steam functions. Samsung Canada specifies 500 milliliters of water in a 1-liter microwave-safe bowl, about five minutes on high, then one to two minutes of standing.
A heavier option comes from USDA FSIS cleaning guidance: half a cup of lemon juice to a cup of water, heated until it boils, then left with the door closed until cool.
| Method | Ingredients and amount | Heating time | Rest time |
|---|---|---|---|
| General Electric method | 1 cup water | 3 minutes on full power | 5 minutes with door closed |
| Consumer Reports method | 1/4 cup lemon juice in a bowl of water | 1 minute on high | Wipe as soon as the bowl is cool enough to lift |
| Wirecutter method | 2 cups water with 2 tablespoons vinegar | 5 minutes | 10 minutes with door closed |
| Samsung Canada method | 500 milliliters water in a 1-liter bowl | About 5 minutes on high | 1 to 2 minutes |
| Lemon and water method | 1/2 cup lemon juice plus 1 cup water | Heat until the mixture boils | Until cool, with door closed |
Steam loosens residue. It doesn't sanitize the cavity, so treat anything beyond cleaning as a separate decision with its own product label. If residue survives the cycle, repeat it once. If it survives twice, switch to a soft plastic pad. Never metal. When the burnt-on layer has been building for months rather than days, this guide to baked-on grease removal covers the heavier end of the job.
How to Clean the Door, Seal and Turntable
Start with the seal, because it's the part that costs the most to get wrong. The gasket around the door frame traps grease, crumbs and condensation, and it's also what keeps microwave energy inside the box. Scrub it with anything abrasive and you can tear or harden the material, which shows up later as uneven heating or a door that doesn't sit flush.
Wipe the seal with a soft cloth wrung out in warm water with a little mild detergent, then run a dry cloth along the same path. Work a cotton swab into the crease if your fingers won't fit. Look at the gasket while you're there. A crack, a split or a hardened section means stop cleaning and have the appliance inspected.
The Turntable and Roller Ring
Wash the glass plate by hand in warm soapy water and dry it fully before it goes back, because a wet plate on a wet ring is how you get a turntable that sticks and grinds. The underside of the plate and the track under the ring are where bacon grease hides. Reheat bacon every weekday morning and that edge builds a brown film within a week, so a single weekly wipe of the door edge and the track keeps it from baking into a strip you can't shift.
Practical rule: if you can feel tackiness with a fingertip, it's grease that will cook onto the surface next time you run the microwave. Wipe it now, not on cleaning day.
Vents and Controls
Describe the surfaces by type and the job stops being guesswork.
| Part | What to use | What to avoid |
|---|---|---|
| Cavity walls and ceiling | Warm water with mild dish soap on a soft cloth | Steel wool, scouring pads, oven cleaner |
| Door and door seal | Damp soft cloth with mild detergent | Abrasive sponges, liquid pooling at the seal |
| Turntable | Hand wash in warm soapy water, then dry fully | Immersing the appliance to soak it |
| Roller ring | Wash separately and reseat flat in the track | Forcing it back in while still wet |
| Vents and control panel | Dry or barely damp cloth only | Spraying any liquid directly |
Never spray anything at the vents or the control panel. Liquid travels inward to the fan housing and the electronics, and the failure shows up days later as a burning smell. If you want a deeper method for the exhaust side, this guide to cleaning a microwave vent walks through it. Keep cleaner off the door seal too, rather than letting it pool in the channel.
Cleaning Up Raw Meat and Other High-Risk Spills
A leak from a raw chicken container isn't a stain. It's contamination on a food-contact surface, and it earns a different response than Tuesday's soup splatter.
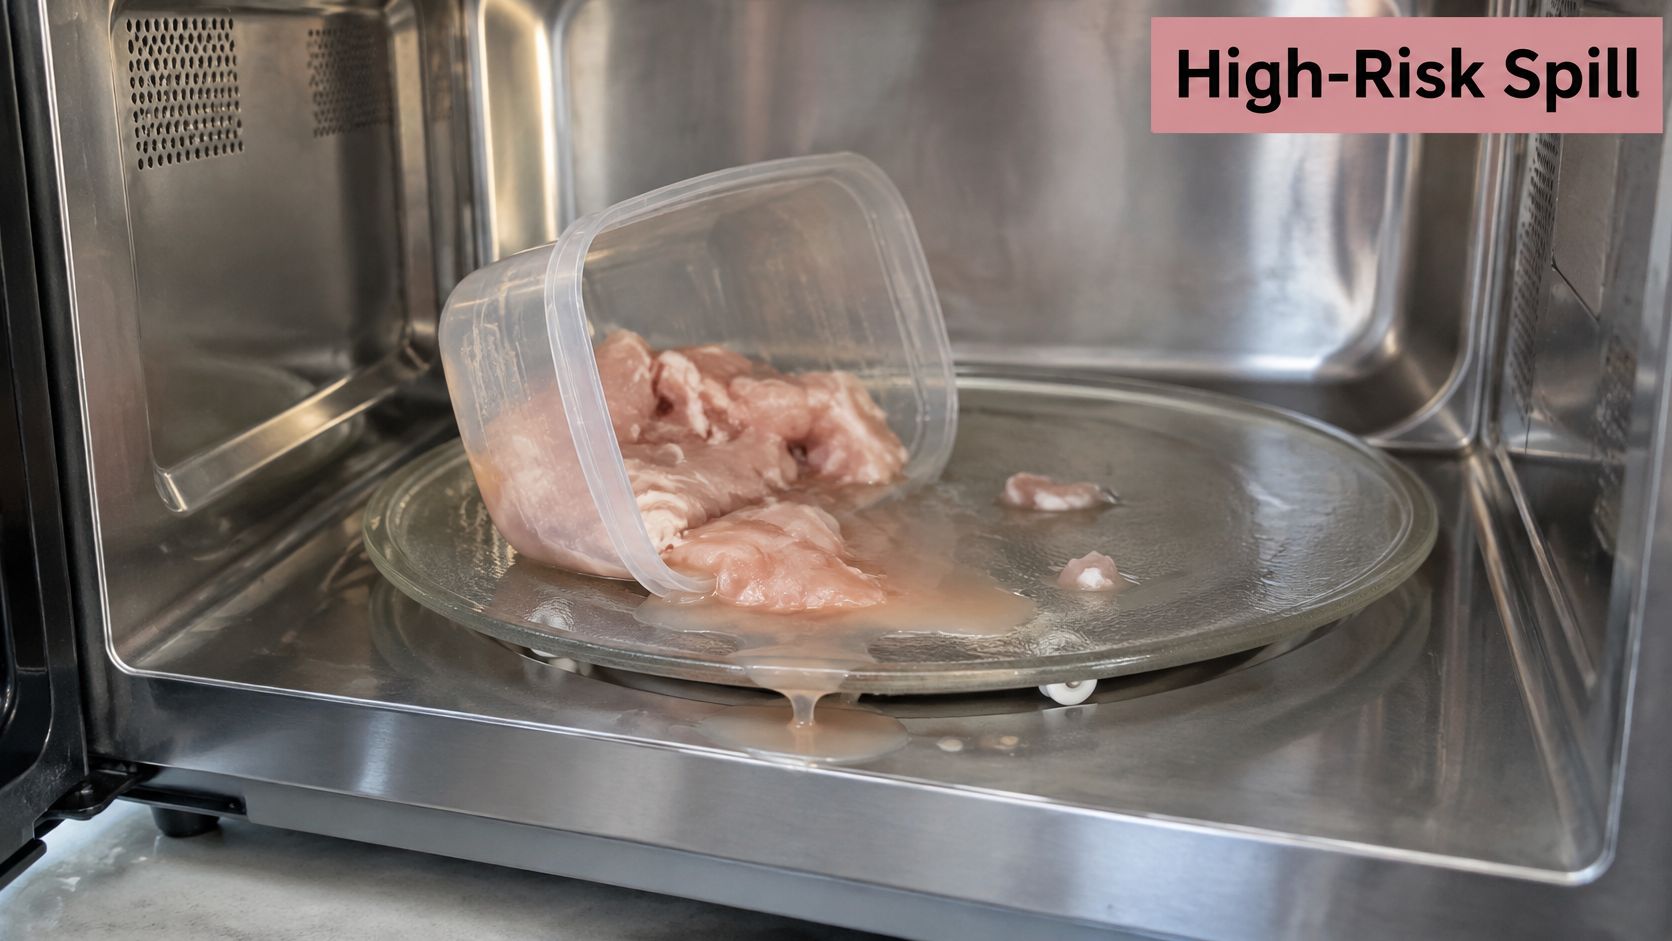
The routine from earlier still applies. Four things change when raw meat, poultry, seafood, egg or the juice from a contaminated container is involved.
- Blot before you wipe. Press paper towels onto the liquid so you lift it instead of pushing it into the corners of the cavity, then throw the towels straight in the bin.
- Use hot soapy water, not a damp pass. Wash the removable parts and the cavity properly, then rinse with a clean damp cloth so no detergent film stays behind for the next meal to sit in.
- Dry everything. Moisture around the seal and in the cavity floor is what lets residue survive between cleanings.
- Decide about sanitizing separately. Cleaning removes the residue. A sanitizer is only appropriate if the product label explicitly permits food-contact use, and only at the stated dilution and contact time. The distinction between a cleaner and a sanitizer or disinfectant matters here more than anywhere else in the kitchen.
Timing matters as much as method. The FDA advises wiping spills immediately, which stops them drying into a film you then have to fight. The same source notes that FDA Food Code language requires microwave cavities and door seals in food-service settings to be cleaned at least every 24 hours using the manufacturer's recommended procedure. That clock belongs to commercial kitchens, not your house, but it explains why seals shouldn't be allowed to collect residue for weeks.
Rule of thumb: after raw meat, clean the same day, and don't reach for bleach or any product the appliance manufacturer hasn't approved for that surface.
Common Problems and How to Fix Them
Most microwave complaints aren't cleaning failures. They're residue sitting somewhere you didn't reach, or damage that cleaning can't fix.
| Symptom | Likely cause | Fix |
|---|---|---|
| Fish or onion smell after cleaning | Residue trapped in walls and seal | Steam with lemon water, then wipe the cavity |
| Sticky film on ceiling | Repeated grease splatters | Warm soapy water, then a clean-water rinse |
| Turntable will not turn | Dirty or misaligned roller ring | Wash the ring and reseat it flat |
| Sparks or arcing | Metal, foil or damaged cavity | Stop using it, remove metal and inspect the interior |
| Burning smell after cleaning | Liquid entered vents or controls | Unplug, dry fully and call a technician if it persists |
The Smell That Comes Back
A fish smell that survives a wipe-down is a coverage problem, not a strength problem. The cavity walls hold a fine film you can't see, and the seal holds crumbs you can't reach with a flat cloth. Run the lemon steam cycle, then wipe while the walls are still warm, and finish with a dry cloth along the gasket crease. If the room itself still carries the odor after the appliance is clean, Phoenix home odor removal tips cover what to do when the smell has moved into soft furnishings.
The Warnings Worth Taking Seriously
Sparks or arcing mean stop. Metal, foil or a damaged cavity lining is the usual cause, and running the unit again to "see if it settles" is how small problems become appliance replacements. A burning smell that appears after cleaning usually means liquid reached the vents or the control panel. Unplug it, leave the door open, and don't run it until it's completely dry.
Aggressive scrubbing and repeated chemical steaming carry their own risk. Every hard scrub thins a coating, and every extra steam cycle pushes moisture toward parts that were never meant to get wet. On an older appliance, a controlled wipe-down protects more than it cleans away.
Anything involving the electrical components, the door seal or the vent path goes to a qualified appliance technician. The same top-down, no-abrasive method translates well to other small appliances, including the inside of a toaster oven.
Decide Whether to Clean It Yourself or Hire Help
A tomato sauce splatter on the ceiling or the residue a leaking chicken container leaves on the turntable is well within DIY range. The deciding factor is scope: one appliance is a ten-minute job, a kitchen that has fallen behind for a season is not.
A workable rhythm keeps the job small. Wipe after any spill while the cavity is still warm, run one full steam clean each month, and check the gasket at the same time. Five minutes of attention a month is cheaper than replacing a turntable motor.
- Weekly: wipe the door edge and the track under the roller ring.
- Monthly: steam the cavity, wash the turntable and ring, check the gasket for cracks.
- Seasonally: clean the grease filter on an over-the-range unit, but only after switching the power off at the breaker first. If the filter or vent path needs more than a surface clean, a qualified technician handles the removal and the reconnection.
When the rest of the kitchen needs the same attention, the trade-off shifts from effort to time. Aquastar Cleaning Services, LLC covers kitchen countertops, sinks and exterior appliance surfaces in its deep cleaning, and refrigerator and oven interiors are available as add-on services. Its teams are trained and insured, plans can be set around your household's schedule, and a deep-cleaning estimate costs nothing. This overview of a kitchen deep cleaning service shows what a full pass through the room covers.
A clean microwave is one of those small jobs that changes how the whole kitchen feels, and it is the kind of detail that gets skipped when the week runs long. Request a free estimate at Aquastar Cleaning Services, LLC and hand the routine work to a team that does it every week.