


You've wiped the sink, but a cloudy patch still catches the light. There's a white crust near the faucet, a brown ring around the drain, and a bottle of strong cleaner under the cabinet. Before you reach for it, check exactly what you're trying to remove.
The right ceramic sink cleaner depends on the basin's finish, the nearby fittings, and the stain. A cleaner that removes mineral deposits may be unnecessary for toothpaste, while a product approved for the glaze may still damage metal trim. Start by identifying the surface, then give each problem the gentlest treatment that makes sense.
Ceramic Sink Cleaner Types Compared
For an intact glazed ceramic sink, mild dish detergent in warm water is the default. Stronger products are tools for particular jobs, not automatic upgrades. BLANCO's ceramic sink care guidance recommends a soft sponge, mild detergent, thorough rinsing, and drying rather than aggressive scrubbing.
The ingredients explain why different cleaners work. Detergents lift grease and everyday residue so water can carry them away. Acids dissolve mineral deposits, while disinfectants serve a separate germ-control purpose.
Ceramic sink cleaner types compared
| Cleaner type | Main ingredient | Abrasiveness | Best use |
|---|---|---|---|
| Mild dish soap in warm water | Mild detergent (surfactant) | None | Daily soap film, toothpaste, light grease |
| Baking soda paste | Mild alkaline powder | Low | Light stains and dull spots, rinsed and tested first |
| Diluted white vinegar | Dilute acetic acid | None | Chalky hard-water film, with short contact time |
| Ceramic-safe commercial cleaner | Detergent with mild acid or alkaline blend | None to low | Mineral scale and general use, if labelled for porcelain or glazed ceramic |
| Diluted bleach solution | Sodium hypochlorite | None | Disinfecting only, after cleaning, never mixed |
| Scouring powder or steel wool | Abrasive particles or metal | High | Not recommended for glazed ceramic |
Verdict: Start with the mildest option that works, and step up only when the stain doesn't respond.
What the choice looks like at home
A kitchen sink with a greasy soap film needs detergent and a soft sponge, not bleach. A basin with a rough white crust needs a compatible descaling treatment, such as diluted vinegar where the manufacturer permits it, or a ceramic-safe commercial descaler.
Don't assume a product is suitable because its packaging says natural or powerful. Look for the named surface, application directions, and warnings about surrounding materials. Our guide to eco-friendly bathroom cleaning products offers useful context when comparing household options.
A baking soda paste sits between routine washing and specialized treatment. Use a small amount on a damp cloth, test first, and rinse away every trace. Its mild abrasion is a reason to use it selectively, not to scrub the entire basin harder.
Identify Your Sink Finish Before Choosing a Cleaner
Check the model label, receipt, or installation paperwork before judging the sink by appearance. Porcelain, fireclay, and enamel-coated metal can all look glossy and white, but their care requirements aren't interchangeable.
An existing chip may offer clues. A white or cream glaze over a grey or reddish body suggests glazed ceramic; a thin coating over dark metal suggests enamel. Fireclay often has a dense body beneath its glaze, but appearance alone isn't reliable enough to select a strong cleaner.
Use simple checks without damaging the surface
- Try a magnet: Attraction suggests a ferrous metal base, such as steel or cast iron. No attraction doesn't, by itself, prove the basin is ceramic.
- Inspect existing damage: Look at chips and the underside where accessible. Don't scratch the finish to investigate.
- Confirm unfamiliar materials: If the basin is a composite, use material-specific guidance, such as our guide to cleaning a composite granite sink.
Say an older farmhouse sink has a yellowed rim and a magnet clings to its body. Treat it as potentially enamel-coated metal, not confirmed ceramic, and avoid experimenting with an acid-heavy descaler.
If you can't identify the material, stay with warm water and mild detergent. Test any proposed treatment out of sight before using it across the bowl.
Why Cleaners Dull, Scratch or Etch the Glaze
The glaze is the surface you're cleaning, not the clay underneath. This glassy layer provides a smooth barrier against stains and ordinary wear. It's durable, but that doesn't make every powder, acid, or scouring pad safe.
Abrasive particles and metal pads can leave fine scratches. Those marks scatter light and can hold residue, making a basin look dull even after washing. For example, a homeowner who repeatedly attacks a cloudy patch with scouring powder may eventually be looking at worn glaze rather than removable dirt.
Chemical damage works differently. Specialized treatments containing hydrofluoric acid or ammonium bifluoride can corrode the glassy phase, reduce gloss by about 30%, and change colour, according to a study of chemical etching on glazed ceramic surfaces. These substances are inappropriate for ordinary household sink cleaning.
Stronger isn't a substitute for suitable
A detergent is the sensible choice for toothpaste, light grease, and ordinary soap residue. Strong caustic cleaners, oven cleaners, and aggressive chemical solutions add unnecessary risk to those jobs, especially around worn edges and hairline cracks.
Don't transfer cleaning advice between appliances and fixtures. If you're also working on the oven, Carmen Family Cleaning's guide to safely clean the inner oven pane is a separate resource, not a reason to use oven-cleaning chemistry in the sink.
Ceramic tiles also introduce grout and joints that a basin may not have. Use our ceramic tile cleaning guide for those surfaces rather than treating every ceramic installation alike.
Replace damaging habits with controlled cleaning
- Scrubbing with powder: Switch to a soft sponge and a treatment matched to the residue.
- Flooding the basin: Apply routine cleaner to the cloth or sponge so you can control where it goes.
- Skipping the rinse: Flush away loosened dirt and cleaner with clean water.
- Leaving droplets behind: Finish with microfiber rather than letting the bowl air-dry.
- Layering products: Finish and thoroughly rinse away one treatment before considering another. Never mix cleaners.
A worn patch that stays matte after rinsing and drying may be damaged glaze, not a stain that needs stronger scrubbing.
For example, if a worn corner turns dull after an aggressive treatment, ordinary cleaning may not restore its shine. Stop experimenting and arrange a finish assessment.
When comparing products, look for disclosed ingredients, low residue, and explicit glazed-surface compatibility. Confirm compatibility before purchase; neither maximum acidity nor maximum abrasion is a useful measure of quality.
Match the Cleaner to the Stain
Before choosing a treatment, inspect the basin and its fittings. Chipped glaze or hairline cracks call for a cautious approach because the protective surface is no longer continuous. Don't soak damaged areas in stain remover.
Check the faucet, drain, and overflow trim too. An EPA-approved disinfectant label warns that prolonged contact with metal can cause corrosion or discolouration. Approval for the basin doesn't automatically mean approval for everything attached to it.
Inspect, isolate, and test
- Check the glaze: Use only mild cleaning on damaged areas while arranging an assessment.
- Control contact with fittings: Keep incompatible cleaners off metal. Rinse exposed fittings before and after treatment where the product directions require it.
- Test discreetly: Treat a small hidden patch, rinse, dry, and inspect for a change in colour or shine before proceeding.
Stain, cause and treatment for a ceramic sink
| Stain | Likely cause | Treatment to try first | Check before or after |
|---|---|---|---|
| Soap film and dull haze | Soap residue and minerals | Warm water and mild detergent | Rinse fully and dry with microfiber |
| White chalky crust or water spots | Hard-water limescale | Diluted vinegar or ceramic-safe descaler, short contact | Test a hidden area and confirm the manufacturer's instructions |
| Brown ring around the drain | Mineral and organic buildup | Detergent first, then baking soda paste on a cloth | Rinse the drain and overflow |
| Rust streak under the tap | Iron from fittings or water | Ceramic-safe cleaner or mild acid approved for the finish | Protect chrome and metal fittings; avoid steel wool |
| Toothpaste or food residue | Dried residue on the glaze | Mild detergent and soft sponge | Wipe the same day to avoid staining |
| Grey or dark marks in damp corners | Possible biofilm in damp corners | Diluted detergent scrub | Disinfect only if needed, never mix products |
Read the result, not just the colour
A smooth cloudy area that clears with detergent was likely surface residue. A rough white ridge that remains may need mineral treatment. Our guide to cleaning hard-water deposits provides additional context for recognizing that buildup.
For a brown drain ring, remove the greasy layer first, then reassess before using baking soda. Rust beneath a tap also deserves an inspection of the fitting, since removing the streak won't correct its source.
Kitchen stains can involve several materials at once. Gmaids' guide to non-toxic mug cleaning for busy households is useful for the cups themselves, but don't automatically transfer a mug treatment to the sink's drain trim.
Persistent dark marks aren't always biofilm, and persistent discolouration isn't proof that a stronger cleaner is needed. Stop if a tested treatment changes the finish or the basin shows cracks.
How to Clean a Ceramic Sink Step by Step
A successful routine removes residue without asking the glaze to withstand unnecessary force. A manufacturer's sink care specification recommends mild soap and warm water and warns against harsh abrasives, metal pads, prolonged bleach contact, and cleaners left standing on the finish.
Use this visual as a reminder of the basic cleaning sequence.
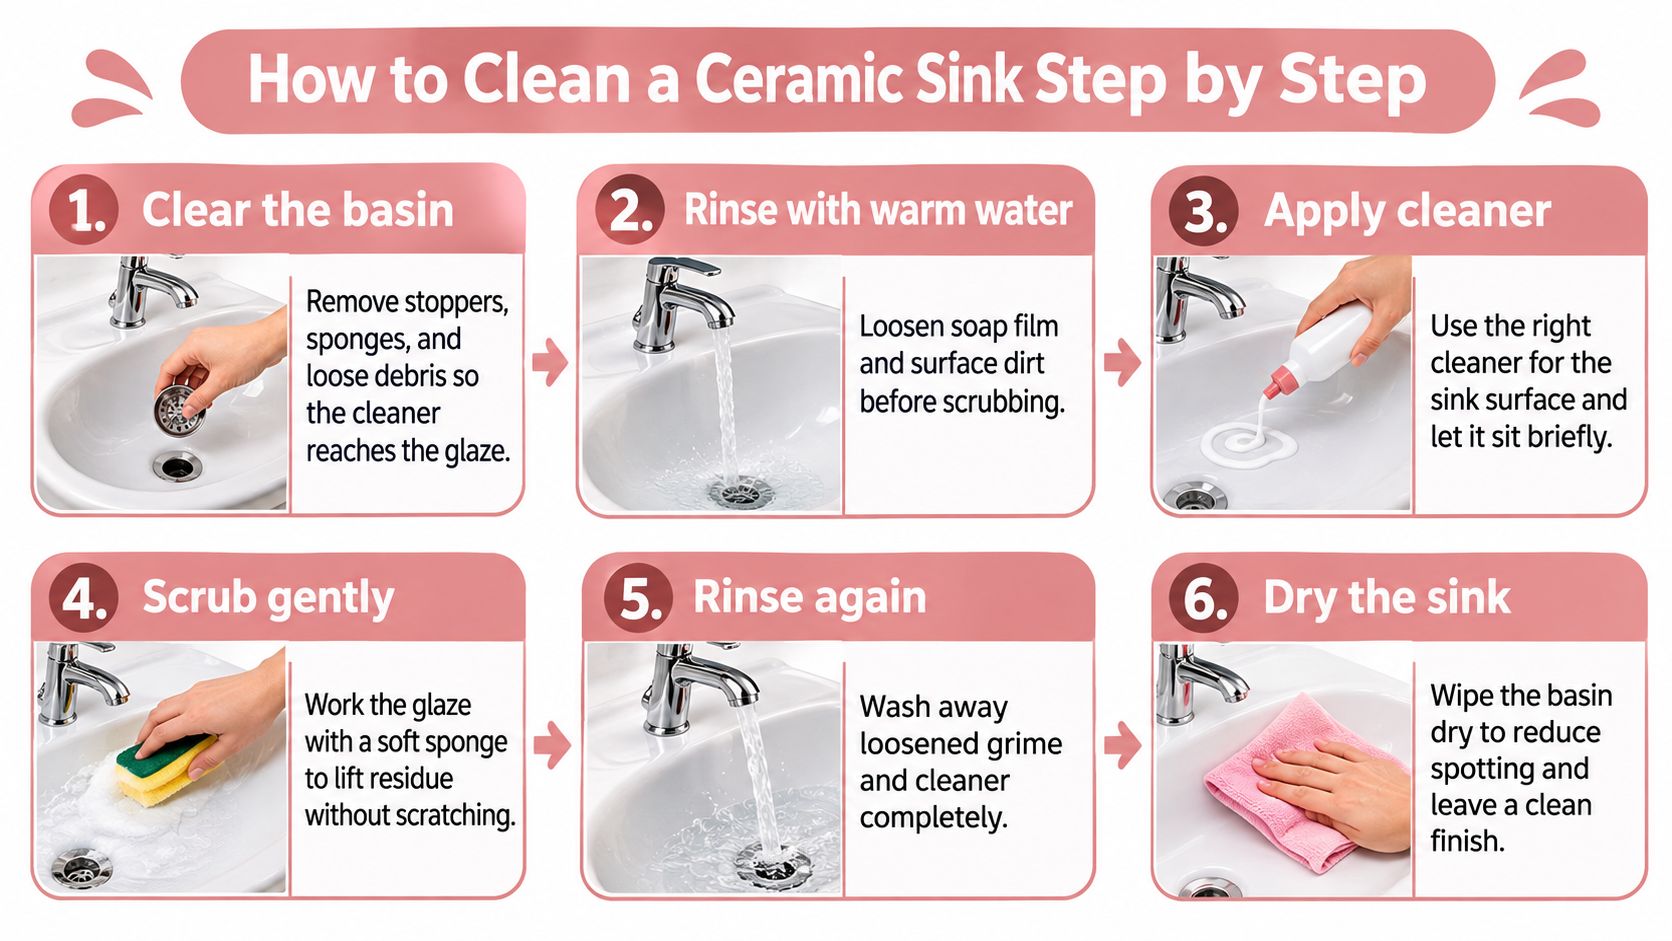
Work from loose debris to a dry finish
Clear the basin. Remove sponges, dishes, loose debris, and any stopper designed for easy removal. This lets you reach the glaze instead of cleaning around objects.
Rinse with warm water. Wash away loose particles and soften dried soap or food residue. Lift solid scraps out rather than pushing them into the drain.
Wash with mild detergent. Wet the soft side of a sponge, add a small amount of detergent, and work in small circles. The detergent loosens soil so you don't need heavy pressure.
Clean accessible drain and overflow edges. Use a soft nylon detail brush with detergent around reachable openings. Don't force the brush into concealed plumbing or remove fixed fittings.
Rinse the whole basin. Direct clean water across the rim, sides, and drain area until foam and slippery residue are gone. Rinse the detail brush separately so it doesn't put grime back onto the surface.
Dry with microfiber. Wipe the bowl, rim, and accessible fittings with a clean cloth. This removes remaining droplets and makes missed patches easier to see.
Check during your weekly clean. Inspect corners and the drain for new buildup or damage. Reserve stain treatments for an identified problem rather than adding them automatically.
Adjust the effort to the household
For example, a regularly maintained family bathroom sink might fit into a hypothetical two-minute evening tidy. A kitchen sink with grease around the rim needs another gentle detergent pass, not necessarily a different chemical.
The common slip is stopping while soap remains in the bowl. That residue leaves a dull film and can hold more dirt, so give the final rinse as much attention as the washing.
Finish check: A clean basin should have no visible film or streaks and no lingering smell. Persistent odour may need attention beyond the glazed surface.
For a wider bathroom clean, use surface-specific advice such as Sweet Home Cleaning Service bathroom tips. Keep separate tools for the sink and toilet, and don't assume the same treatment suits every fixture.
How to Sanitize Without Creating a Chemical Hazard
Every sink doesn't need bleach. Cleaning removes soil; disinfection targets specified germs. Routine washing is generally enough for everyday upkeep, while illness or contamination from raw food can justify targeted disinfection.
Keep the cleaning tools and disinfecting products distinct, even when they're stored near the same sink.
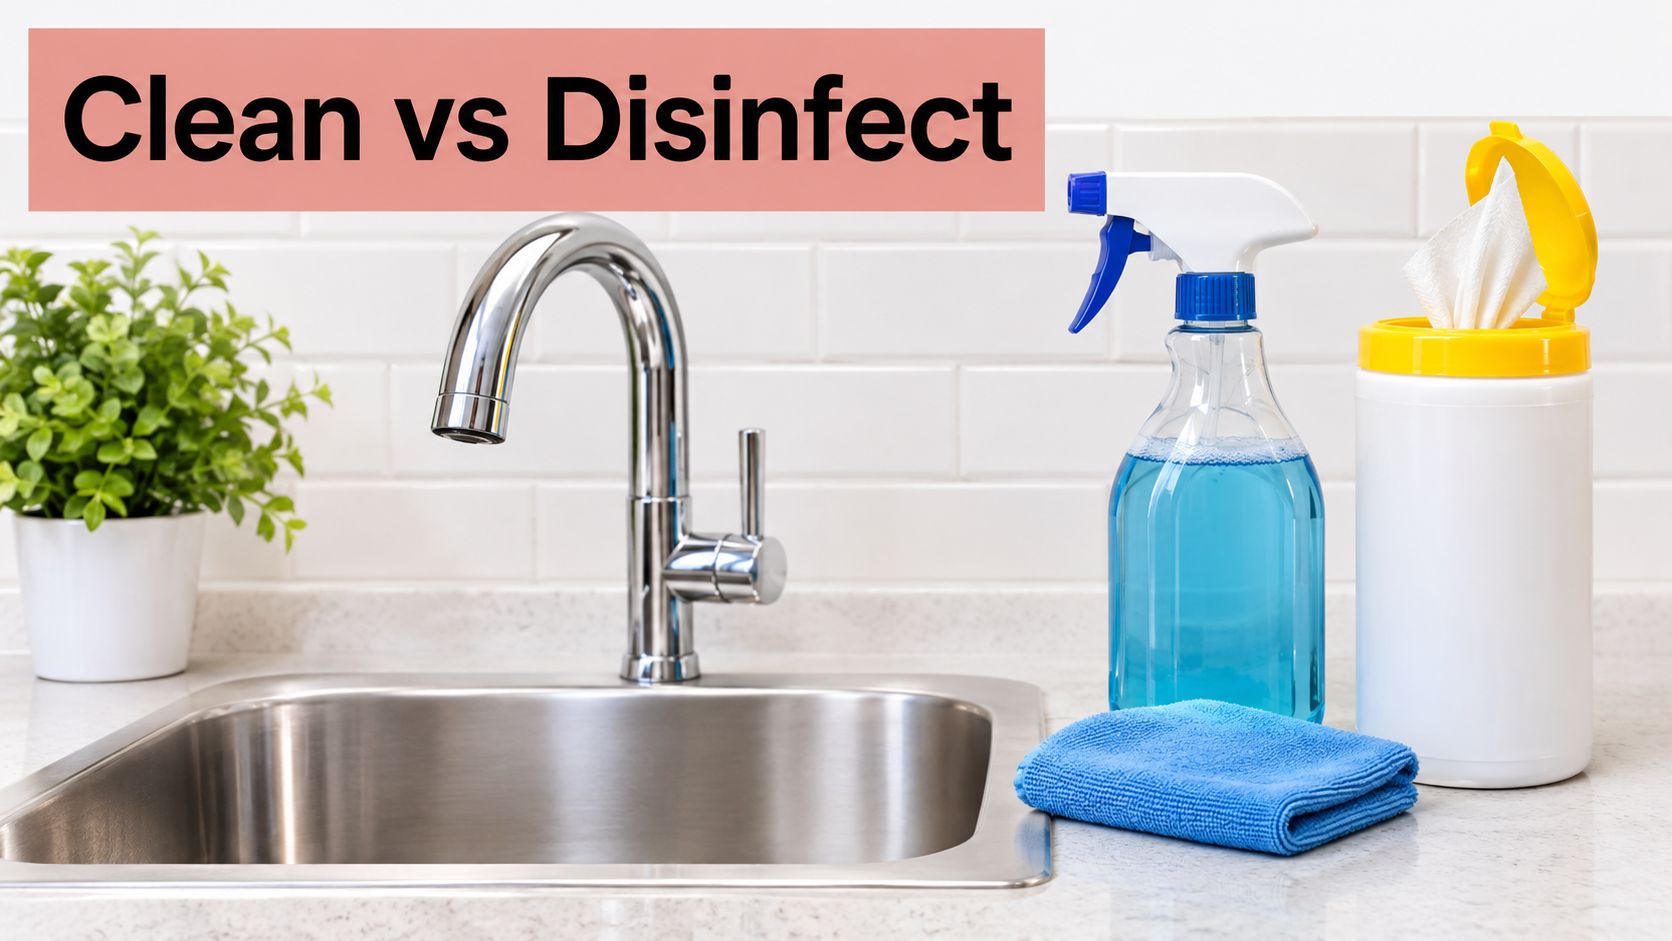
Clean first, then disinfect when needed
Pre-wash the basin with soap and water, then rinse away the detergent. Choose an EPA-registered disinfectant or correctly diluted bleach only when its directions approve the particular surface and intended use.
The CDC's home cleaning and disinfecting guidance says to keep the surface visibly wet for the full labelled contact time; for a diluted bleach solution without instructions, it specifies at least one minute. That fallback isn't permission to guess the dilution or ignore the sink manufacturer's restrictions.
Follow the product's rinsing directions, including requirements for food-contact surfaces. A stronger concentration or longer soak isn't a shortcut to a better result.
For example, after a household member has a stomach bug, remove visible toothpaste and residue before applying an appropriate disinfectant. Keep the approved surface wet for its required contact time, then complete the labelled rinsing or wiping step.
The video below is an additional visual resource; your product label determines the actual procedure.
Keep chemistry separate
An EPA-approved bleach product label warns against mixing bleach with acids, ammonia, detergents, or other household chemicals because hazardous gases can form. Never mix bleach with vinegar or another cleaner, including inside a drain.
- Ventilate during use: Open a window or run an exhaust fan, following the label's precautions.
- Measure as directed: Use the stated dilution for the intended task, not a guessed splash.
- Store securely: Keep products in their original containers, apart from incompatible chemicals and out of children's reach.
Sanitizing and disinfecting aren't interchangeable label claims. Our explanation of the difference between sanitizers and disinfectants can help you choose the appropriate task rather than the strongest-looking bottle.
Choose Your Cleaner and Start a Simple Routine
Choose mild detergent as your regular ceramic sink cleaner. Keep a compatible descaler for actual mineral buildup and reserve disinfectant for situations that call for it.
A small, clearly labelled cleaning kit makes that choice easier.
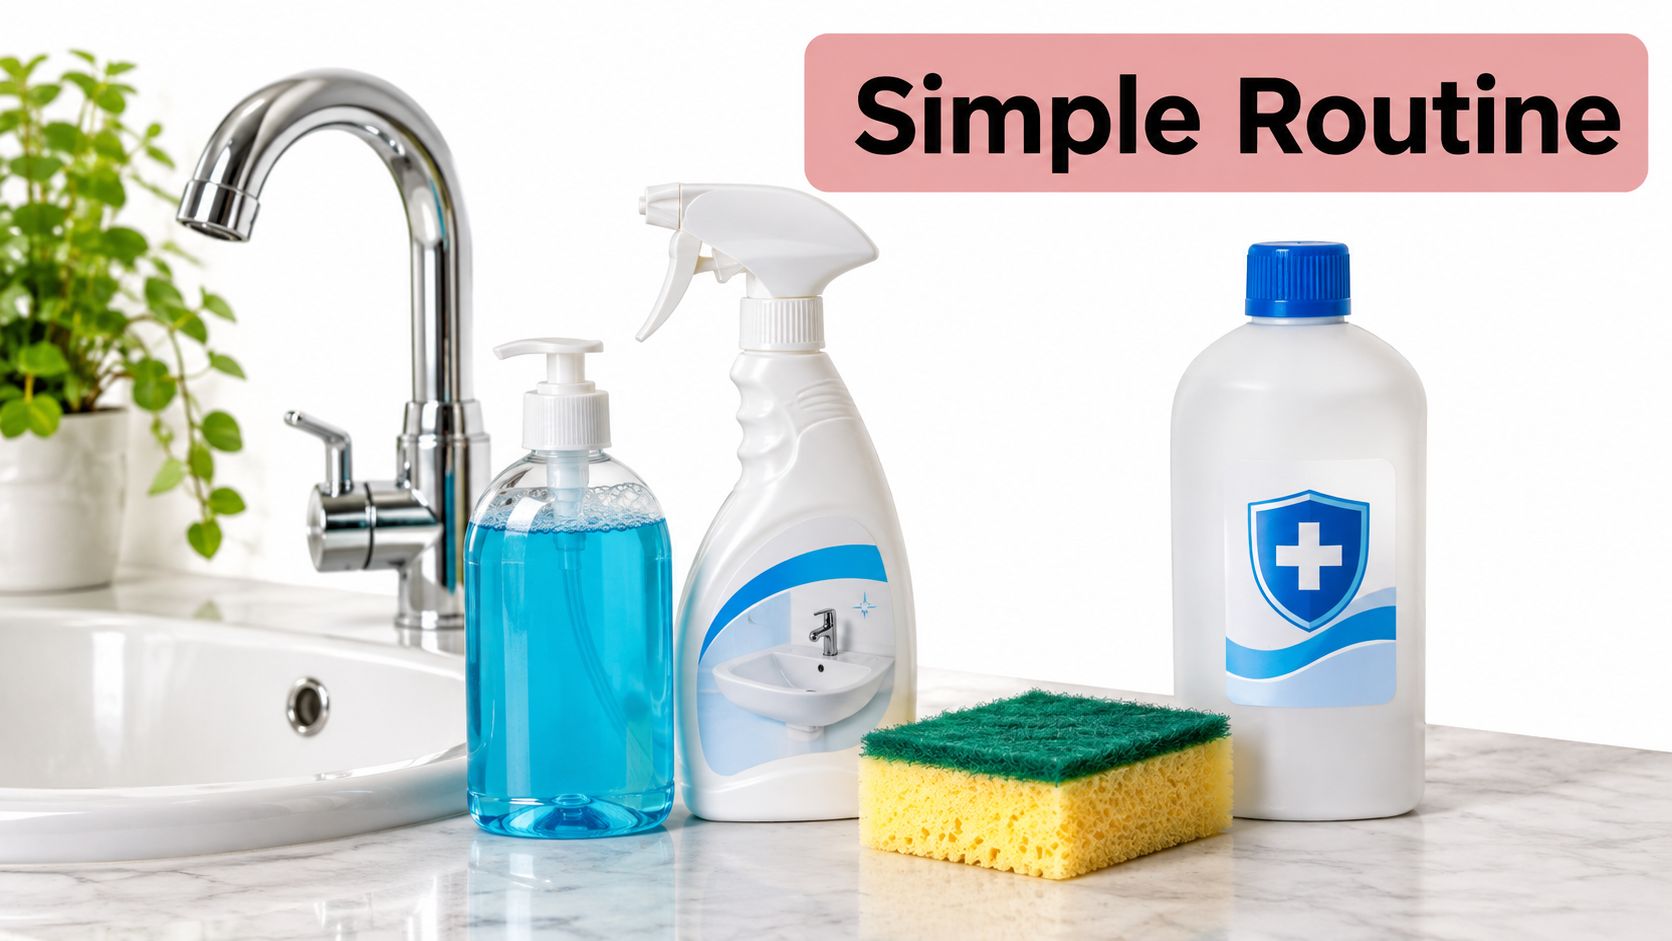
Put the routine where you'll use it
Write a short reminder inside the cabinet door:
- Daily or after messy use: Remove residue, rinse, and dry.
- Weekly: Wash the basin and accessible drain edges with mild detergent.
- Monthly: Inspect for scale and note any deep cleaning. Use a ceramic-safe commercial cleaner only where buildup needs it.
A household with a toddler might wipe the bathroom basin daily and keep disinfectant securely stored for a specific contamination event, not automatic use. The routine should follow the condition of the sink, not an urge to add more chemicals.
Choose the mild default today, check the finish, and test any proposed stain treatment discreetly this week. If the glaze is cracked, chipped, or still heavily stained, stop before trying harsher products; cleaning can remove buildup, but it can't repair missing glaze.
We offer deep cleaning that may include kitchen countertops, sinks, and exterior appliance surfaces, using gentle, biodegradable cleaning solutions. If your ceramic sink needs more attention than routine washing, visit Aquastar Cleaning Services, LLC for a free cleaning estimate and tell us about its finish, stains, and any visible damage.