A practical cleaning schedule for working moms starts with the time and energy available in your household. Use short daily resets for dishes and clutter, spread routine cleaning across the week, and share responsibilities where possible. The sample plan below can be adjusted for work shifts, school activities, pets, and the size of your home.
Cleaning a bathtub starts with knowing its material and finish. Acrylic, fiberglass, porcelain enamel, natural stone, and refinished tubs can require different products and tools.
For routine grime, use the cleaner and cleaning method recommended by the tub manufacturer. A gentle approach helps you remove buildup without creating scratches or dull patches.
Identify the Finish First
Check your purchase information or the manufacturer’s care instructions. If the tub has been refinished or reglazed, follow the refinisher’s directions rather than instructions for the original material underneath.
Look for cracks, chips, peeling areas, or damaged caulk. These problems may need repair, and repeated scrubbing will not fix them.
If you cannot identify the finish, ask the manufacturer, installer, or refinisher before trying a stain remover.
Gather Your Supplies
Prepare:
Soft cleaning cloths or an approved nonabrasive sponge
A cleaner suitable for your tub’s finish
Water for rinsing, where directed
A clean cloth for drying
Protective equipment required by the product label
Keep the bathroom ventilated while cleaning. Never mix cleaning products, including bleach with vinegar, ammonia, or other cleaners.
Do not assume a sponge labeled “non-scratch” is suitable for every finish. Check both the tool’s instructions and the tub’s care guidance.
A Simple Routine for Everyday Grime
1. Clear the Tub
Remove bottles, soap dishes, toys, and other belongings. Pick up loose hair and debris rather than washing everything down the drain.
Place belongings where they will not create a trip hazard.
2. Apply the Approved Cleaner
Follow the label’s instructions for application and dilution. Some products require a wet surface; others do not.
Treat the tub in manageable sections. Avoid leaving cleaner on the surface longer than directed or allowing it to dry when the instructions prohibit this.
3. Wipe Gently
Use your approved cloth or sponge with light pressure. Pay attention to the waterline and areas where soap collects.
If grime remains, repeat the permitted method instead of immediately switching to a stronger cleaner or abrasive tool.
4. Rinse and Dry as Directed
Remove cleaner and loosened residue according to the label. Check that no slippery film remains on the tub floor.
Where appropriate, finish with a clean, soft cloth to remove remaining water. Keep your footing secure; do not stand on a wet tub edge to reach another area.
Match the Method to the Material
Acrylic and fiberglass: Follow the manufacturer’s approved product list. Avoid abrasive powders, scouring tools, and solvents unless expressly permitted.
Porcelain enamel: Do not assume that a hard surface tolerates every stain remover. Check instructions, particularly around chips or exposed metal.
Natural stone: Use products approved for the specific stone. Vinegar and other acidic cleaners can damage acid-sensitive materials.
Refinished tubs: Follow the refinisher’s maintenance instructions, including restrictions on cleaners, suction mats, and abrasive tools.
Manufacturers provide different recommendations for different materials. Signature Hardware’s bathtub care guide illustrates why identifying your tub matters.
Soap Scum and Mineral Deposits
If routine cleaning leaves a cloudy film or chalky deposit, check whether the manufacturer recommends a compatible soap-scum remover or descaler.
Follow the stated application time and rinsing instructions. Protect nearby fixtures and finishes that may have different cleaning requirements.
Avoid leaving vinegar-soaked towels on an unknown finish or assuming a homemade mixture is gentler than a labeled product.
Rust Marks and Persistent Discoloration
Remove metal containers that leave rings, and check for a dripping fixture if a stain keeps returning.
Use a rust remover only when both its label and the tub’s care instructions permit it. Avoid improvised lemon-and-salt scrubs, toilet bowl cleaner, or abrasive erasers on an unverified surface.
Some discoloration comes from wear or damage rather than removable dirt. Stop if treatment changes the sheen, color, or texture, and seek advice before continuing.
Fixtures, Caulk, and the Surround
Clean faucet finishes separately according to their instructions. A product suitable for the tub may harm a coated faucet or nearby stone.
Wipe around seals gently. Do not aggressively brush loose caulk or pry at fittings.
Recurring growth, persistent dampness, or deteriorating seals may require attention to ventilation, leaks, or repairs. Appearance alone does not identify the cause, and a routine clean may not resolve it.
Cleaning a Jetted Bathtub
Cleaning the visible tub surface does not clean the internal jet system.
Find the instructions for your exact model before flushing it. Follow the specified cleaner, amount, water level, temperature, control settings, operating time, and rinse procedure.
Do not substitute a general recipe using dishwasher detergent or guess the dose. Water-jet and air-bath systems can require different maintenance. Contact the manufacturer if you cannot find the instructions or if debris and odors persist.
Clean regularly based on use and visible buildup. Where the care instructions allow it, remove remaining water with a soft cloth or suitable squeegee after bathing.
Use bathroom ventilation and address leaks promptly. Clean beneath bottles and removable accessories rather than letting residue collect underneath them.
If disinfection is needed, use a compatible disinfectant exactly as labeled. Ordinary wiping does not automatically disinfect a surface.
Need Help with Bathroom Cleaning?
Aquastar Cleaning Services can discuss your bathroom cleaning needs and confirm the tasks included in your service. Mention the tub material, any refinishing, existing damage, and products already used.
Cleaning cannot repair cracked surfaces, failing coatings, or plumbing problems. Jetted-system maintenance and specialist repairs should be discussed separately.
Removing sticky residue starts with identifying the surface beneath it. A method that lifts a label from a washable glass jar may damage painted furniture, plastic, a screen, or a window coating.
There is no single Goo Gone alternative that works safely on every material. Start with the object's care instructions, use the gentlest approved method, and stop if the finish changes.
Identify the Surface and the Sticky Material
Before choosing a cleaner, check what you are working on: plain glass, coated glass, plastic, painted metal, finished wood, stone, or fabric. The finish matters as much as the underlying material.
Consider what left the residue. Paper labels, packing tape, mounting adhesive, and construction glue may require different removal methods. A surface that has become sticky without any label or tape may have a deteriorating coating rather than adhesive residue.
For valuable furniture, unknown finishes, or large areas of construction adhesive, ask the manufacturer or an appropriate specialist before experimenting.
Start with Mild Soap and Water Where Permitted
For washable items whose care instructions allow it, begin with a soft cloth dampened with warm water and a small amount of mild dish detergent.
Lift away loose paper without pulling aggressively against the finish.
Hold the damp cloth against the remaining label briefly to soften the paper.
Gently wipe away loosened material.
Remove detergent with a clean damp cloth and dry the surface.
Inspect before repeating.
Avoid soaking wood, seams, electrical items, or anything that can absorb water. Submerge an item only when its care instructions allow immersion.
A plastic scraper is not automatically safe: its edge or trapped grit can scratch. Use one only when the surface manufacturer permits it.
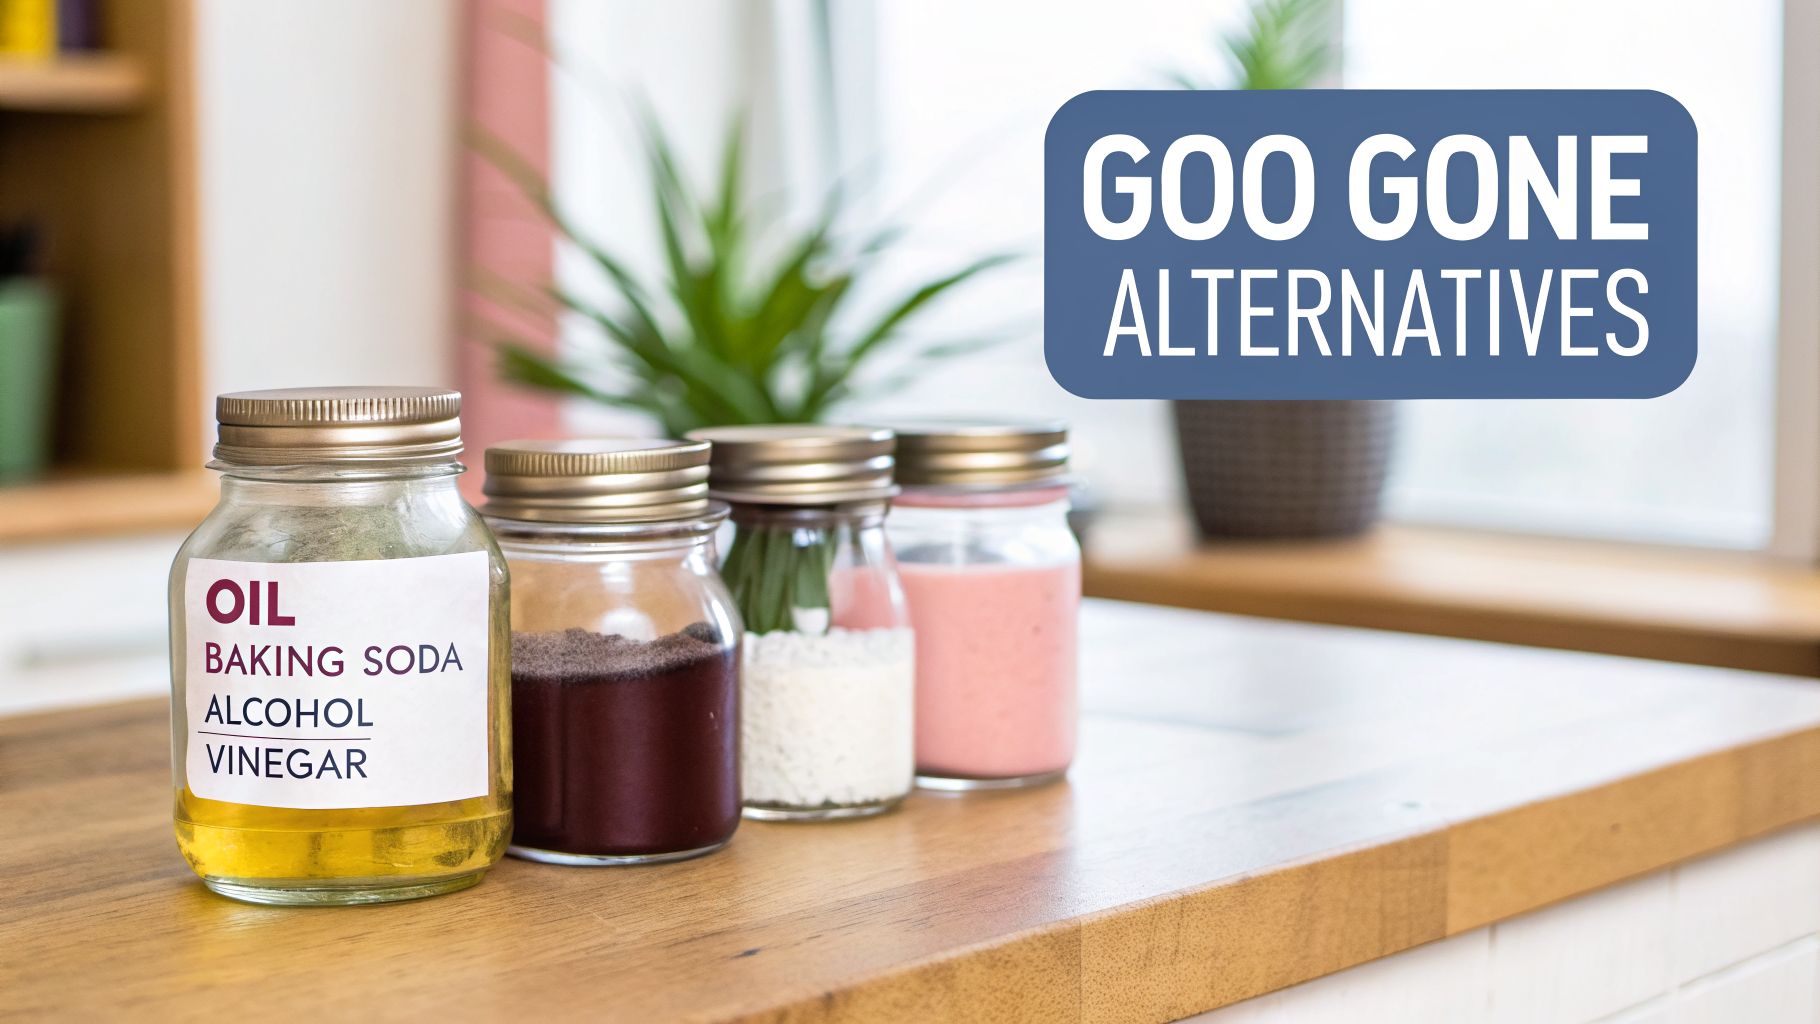
Choosing an Alternative to Goo Gone
Cooking Oil
A small amount of cooking oil may loosen some adhesive residue on a compatible, washable, nonporous item. It can also leave a greasy film or stain absorbent materials.
Do not assume oil is suitable for finished furniture, stone, fabric, or every plastic. Check the object's care guidance and test a hidden area before treating the visible spot. Allow the test area to dry and inspect it for discoloration or changes in gloss.
Where oil is permitted, use a small amount rather than saturating the object. Remove the remaining oil with an approved cleaning method.
Rubbing Alcohol
Alcohol can affect finishes and coatings. It should not be treated as a universal cleaner for electronics, plastic, painted surfaces, or windows.
Follow instructions for the exact object and product. For example, Apple specifies particular cleaning methods for its devices and warns against moisture entering openings. Those instructions do not establish that an alcohol soak is suitable for removing adhesive from a screen. Apple product-cleaning guidance
If alcohol is approved, follow its label precautions, provide ventilation, and keep it away from flames, sparks, and heat.
Vinegar and Baking Soda
Neither is a universal adhesive remover. Vinegar is acidic, while baking soda used as a paste adds abrasion. A household ingredient can still damage a surface.
Use them only when the surface's care instructions permit the method. Avoid experimenting with acidic cleaners on natural stone or abrasive pastes on delicate finishes. Do not combine products to make a stronger cleaner.
Take Extra Care with Glass and Windows
Glass may have coatings, tinting, films, or nearby seals that limit suitable cleaning methods. Automotive rear windows can also have features that require special care.
Avoid the assumption that a razor blade guarantees scratch-free removal. Andersen specifically advises against metal razor blades and abrasive cleaners on its glass. Follow the instructions for your own window or glass product. Andersen glass-care guidance
Protect Wood, Paint, Carpet, and Upholstery
For finished wood or painted surfaces, seek a method approved for the finish. Stop if color transfers to the cloth, the surface softens, or the gloss changes. Adding more solvent or scrubbing harder may worsen the damage.
For carpet and upholstery, check the manufacturer's cleaning instructions before using any spot treatment. Avoid saturating the material or forcing adhesive deeper into the fibers. Unknown glue, delicate fabric, or a spreading stain is a reason to seek professional assessment.
When a Commercial Adhesive Remover Makes Sense
A labeled adhesive remover may be appropriate when its instructions explicitly cover both the residue and the surface. Read the exclusions, application directions, cleanup requirements, and safety precautions.
For example, Goo Gone Original lists exclusions including silk, leather, suede, rubber, unfinished wood, and unsealed stone. Different products may have different restrictions. Goo Gone Original product guidance
Terms such as “natural,” “citrus-based,” or “biodegradable” do not establish compatibility with your item. Follow disposal instructions rather than assuming leftover remover can go down a drain.
Know When to Stop
Stop if the finish changes, residue spreads, or repeated gentle attempts make no progress. Photograph the area and record which products you have used before contacting a specialist.
For routine household cleaning, contact AquaStar Cleaning to discuss the affected surface and scope of work. Specialty adhesive removal may require assessment before a method or outcome can be agreed upon. Contact Aquastar Cleaning
Drywall work can leave fine dust on floors, ledges, furniture, and nearby rooms. Effective cleanup starts with identifying the materials involved, limiting further dust spread, and using equipment designed to collect fine construction dust.
This guide covers ordinary dust from known drywall and joint-compound work. Dust from demolition, old paint, or unidentified building materials may require specialist assessment before cleaning.
Confirm What the Dust Contains
Ask your contractor which materials were cut or sanded, and check the product safety data sheets. Dust appearance alone cannot tell you what it contains.
NIOSH notes that drywall sanding can expose workers to irritating dust and, depending on the materials, respirable crystalline silica. Dust-control tools reduce exposure, but they do not eliminate every risk.
If renovation disturbed painted surfaces in a home built before 1978, discuss possible lead contamination with a lead-safe certified contractor. Ordinary household cleaning is not a substitute for lead-safe renovation procedures.
If debris may contain asbestos, stop and seek qualified assistance. EPA advises against dusting, sweeping, or vacuuming suspected asbestos debris yourself.
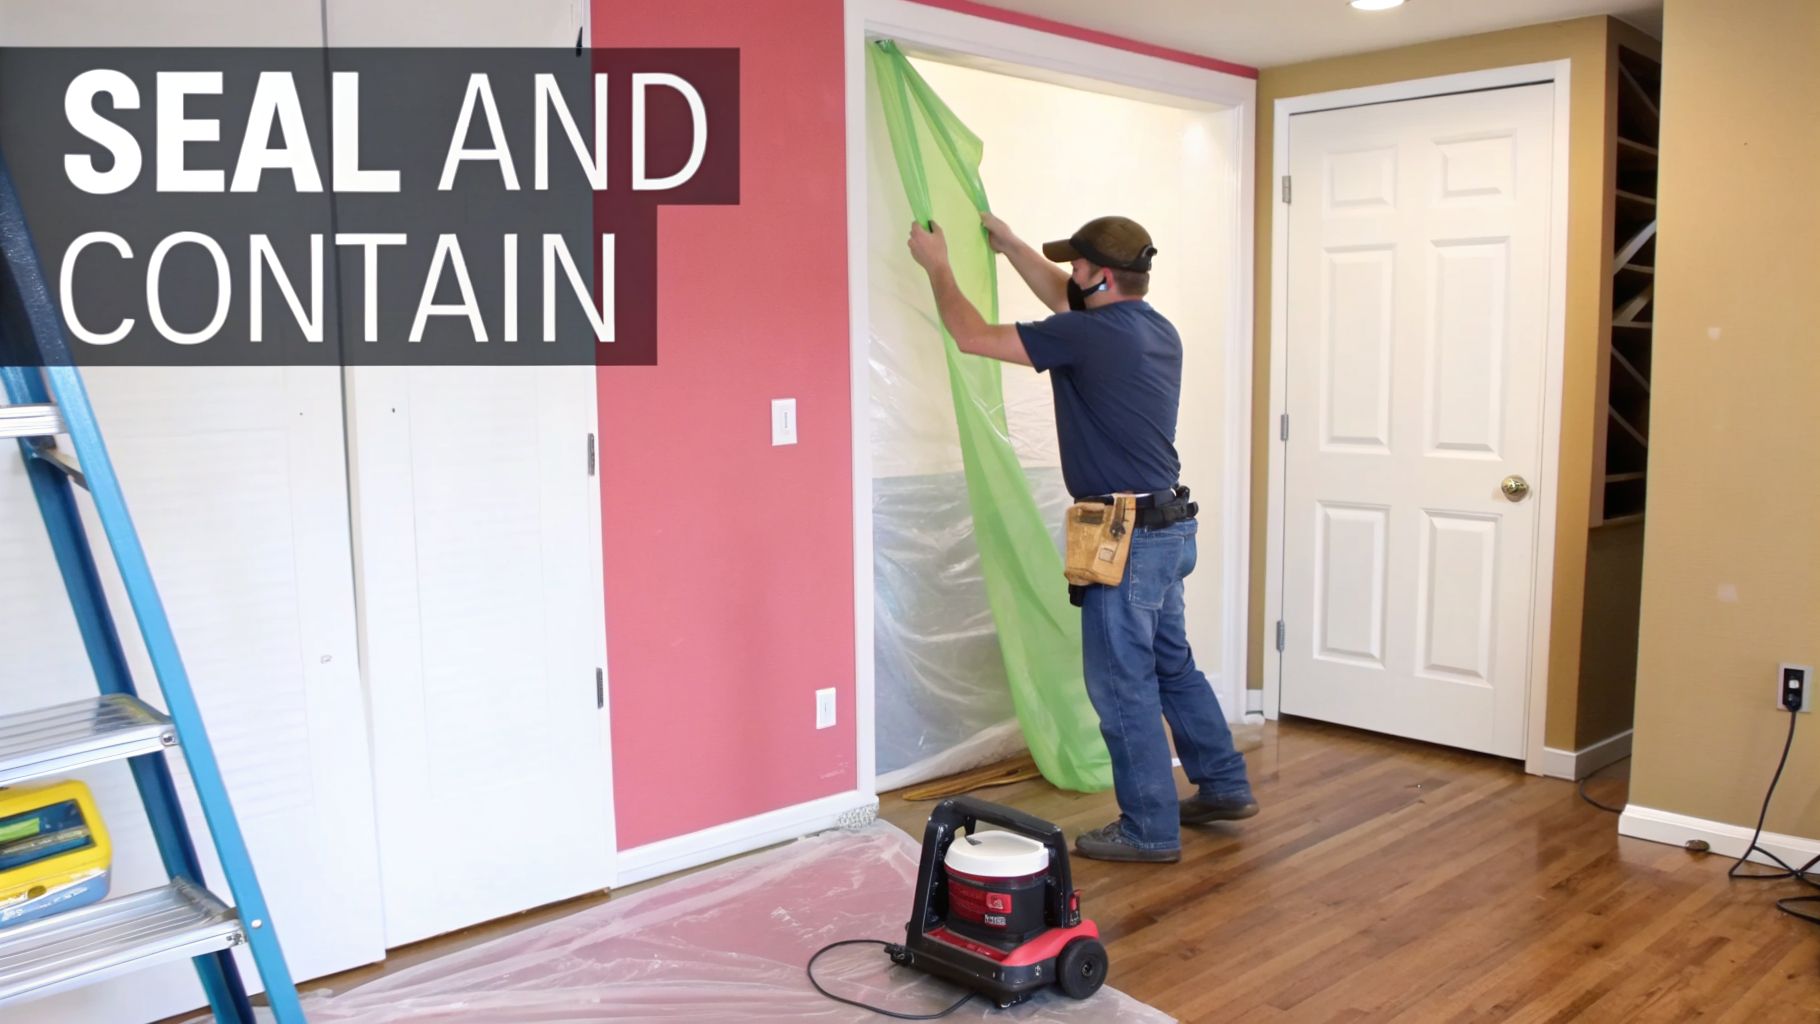
Keep the Work Area Controlled
Arrange dust control with the contractor before sanding begins. Vacuum-assisted sanding equipment can capture dust at its source and reduce the amount that spreads.
Keep people who are not working on the project, including children and pets, outside the work area. Avoid carrying dusty tools, shoes, and uncovered waste through clean rooms.
Keep doorway barriers in place during cleanup. Removing containment at the beginning can allow remaining dust to escape.
Coordinate protection of nearby supply and return vents with the contractor. Do not operate an HVAC system with vents blocked or make changes that interfere with required ventilation or combustion-air openings.
Avoid aiming fans across dusty surfaces or creating airflow that carries dust into occupied rooms.
Choose Equipment Designed for Fine Dust
Use a vacuum or dust extractor that the manufacturer approves for drywall dust. Follow its instructions for filters, collection bags, attachments, and maintenance.
Where HEPA collection is needed, choose equipment designed to operate as a complete HEPA system. A filter label alone does not establish that dust cannot escape elsewhere in the machine.
Do not assume that a household vacuum is suitable because it has a HEPA filter. Check its permitted uses before collecting construction dust.
Have the following ready:
Approved vacuum equipment and suitable attachments
Clean, soft cloths
A mop appropriate for the flooring
Surface-compatible cleaning products, where needed
Suitable waste bags or containers
Protective equipment selected for the material and task
Follow the product safety information and contractor guidance for eye, skin, and respiratory protection. A loosely fitting mask or a respirator chosen without considering the exposure is not a substitute for dust control.
Collect Debris Without Raising Dust
Once dust-producing work has stopped, carefully collect larger pieces of known drywall debris. Avoid breaking them into smaller pieces or shaking dust from protective coverings.
Bag waste within the controlled area and close the bags before carrying them through the home. Follow local disposal requirements and the contractor’s instructions.
Avoid compressed air, vigorous dry brushing, or sweeping that produces a visible dust cloud.
Clean accessible surfaces before taking down doorway containment. When protective coverings are ready for removal, fold dusty surfaces inward and handle them gently.
Vacuum Accessible Surfaces Methodically
Work from higher accessible surfaces toward lower ones, finishing with the floor. Use attachments that will not scratch or damage the surface.
Pay attention to window ledges, door trim, baseboards, and accessible corners. Move slowly enough for the vacuum to collect the dust.
Do not brush or vacuum fresh joint compound, delicate finishes, or newly painted surfaces without the contractor’s approval.
Keep attachments away from exposed wiring and electrical components. Do not open electrical fittings or reach into equipment to remove dust. Leave inaccessible or sensitive areas to an appropriate professional.
Monitor the vacuum during use. Follow its instructions if suction drops, and stop if dust escapes from the exhaust or housing.
Damp-Wipe Compatible Finished Surfaces
After collecting loose dust, wipe remaining residue from surfaces that tolerate damp cleaning.
Use a clean cloth with controlled moisture and a product suitable for the finish, if one is needed. Test an inconspicuous area first. Fold or replace cloths frequently so you continue using a clean section.
Do not soak unfinished drywall, fresh joint compound, wood, or other moisture-sensitive materials. Ask the contractor how surfaces awaiting paint should be prepared.
Avoid treating tack cloths as universally suitable. Their coatings may be incompatible with some finishes or subsequent painting.
Damp-mop compatible hard flooring after cleaning higher surfaces. Change dirty water or pads as needed and follow any rinsing instructions. Allow the floor to dry before use.
Handle Carpet and Upholstery Carefully
Do not beat rugs or aggressively rake dusty carpet, as this can release more dust into the air.
For limited contamination from known materials, check both the textile’s care instructions and the vacuum manufacturer’s guidance before cleaning. Use suitable attachments and avoid damaging the fibers.
Do not automatically damp-wipe upholstery after vacuuming. Some fabrics require solvent cleaning or professional care, and water can leave marks.
Extensive contamination, delicate textiles, or dust that repeatedly reappears calls for professional assessment. Explain that the contamination came from renovation work when requesting help.
Check HVAC Equipment Without Assuming Duct Cleaning Is Needed
If dust entered a return vent or appears inside the system, consult an HVAC professional.
Inspect accessible filters according to the equipment instructions. Replace dirty filters with the correct size and approved type rather than assuming every system needs an immediate change and another exactly 30 days later.
Do not install a more restrictive filter without checking compatibility. Avoid opening ductwork or internal equipment for improvised cleaning.
Restore normal airflow only after temporary vent protection has been properly removed and the work area is ready.
Recheck the Area After Cleanup
Dust may settle again or be tracked from an overlooked area. Inspect ledges and floors after the initial cleanup and repeat appropriate cleaning where residue remains.
There is no universal number of cleaning sessions or waiting period that proves a room is ready for occupancy. Visible cleanliness also cannot confirm that hazardous dust is absent.
For projects involving lead, asbestos, or other identified hazards, follow the specialist’s cleanup and verification requirements. A household air purifier does not replace those steps.
When to Ask for Help
Contact the contractor or a qualified specialist when the dust source is uncertain, contamination extends into several rooms, suitable equipment is unavailable, or dust has entered sensitive equipment.
For household cleaning enquiries, contact Aquastar Cleaning. Describe the renovation, materials involved, affected surfaces, and any assessment already completed so the appropriate scope can be discussed.
Keeping tile floors clean starts with a manageable routine: remove loose dirt, address spills, and mop when needed using a cleaner suited to the surface.
The right approach depends on the tile, grout, and any sealer or coating. Follow your flooring manufacturer’s care instructions, and adjust your cleaning schedule to the amount of traffic and soil in your home.
Know What You Are Cleaning
Check your installation records or product information before choosing a cleaner. Ceramic, porcelain, natural stone, and cement tile can have different care requirements.
A floor that looks like stone or ceramic may actually be vinyl or another material. Follow the instructions for the actual flooring rather than judging by appearance.
Also consider the grout and any protective finish. A product suitable for the tile itself may not suit a grout color coating or sealer.
Keep the flooring information and approved cleaner details together so everyone who cleans the home can follow the same routine.
Remove Loose Dirt Regularly
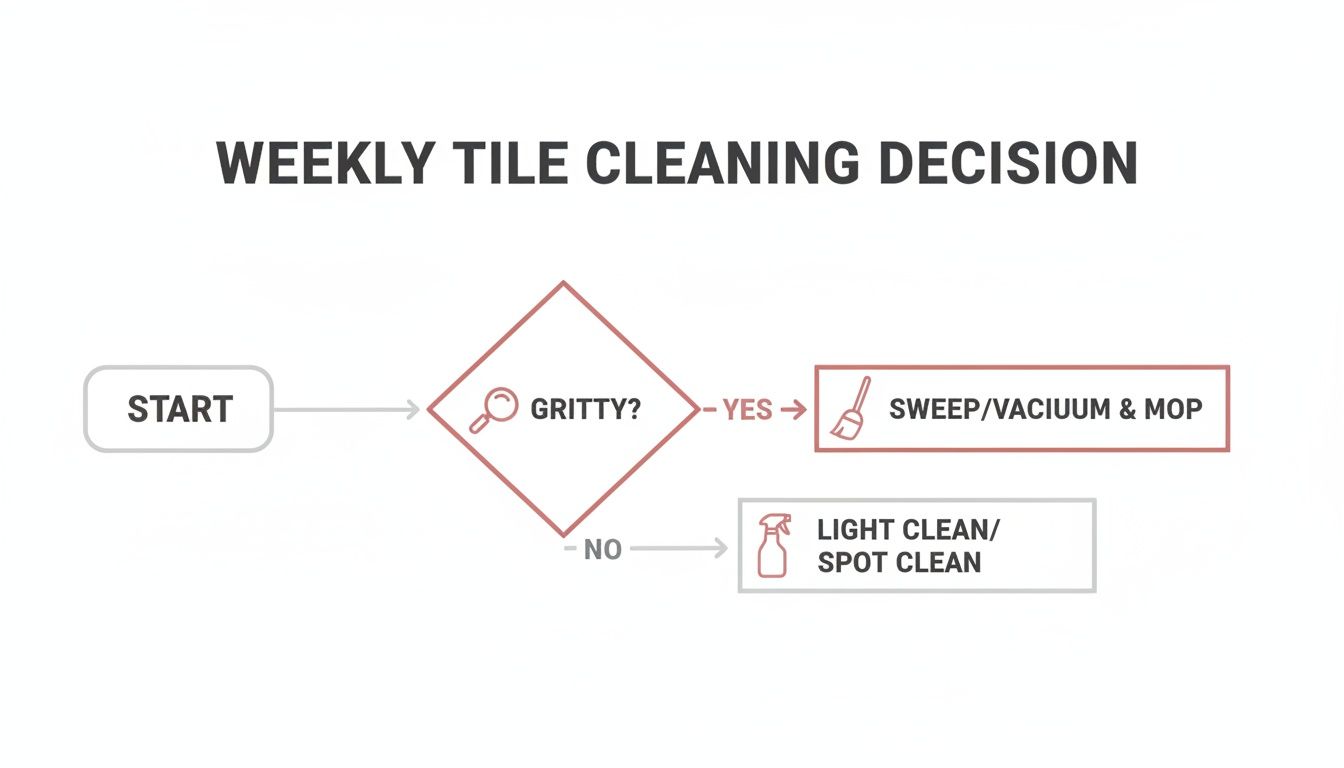
Sweep, dust mop, or vacuum to remove crumbs, hair, and grit before wet cleaning. Pay attention to entryways, corners, and the areas around dining chairs.
Choose a vacuum attachment appropriate for the floor. Check that its wheels and attachments are clean and undamaged.
Busy areas may need attention daily, while lightly used rooms may need less frequent cleaning. A quick check for visible dirt is more useful than applying the same schedule to every room.
Clean Up Spills Promptly
Blot or lift spills instead of spreading them across the floor. Remove any remaining residue using a method approved for the surface, then dry the area.
For natural stone, acidic spills deserve prompt attention. The Natural Stone Institute explains that acids can etch calcium-based stones such as marble and limestone.
Keep an appropriate cloth and approved cleaner accessible so small spills are easy to handle. Store cleaning products securely and in their original containers.
Choose a Suitable Routine Cleaner
For many ceramic and porcelain floors, manufacturer guidance recommends a neutral cleaner for ordinary maintenance. Check the product label for compatibility with your tile and grout.
For natural stone, select a cleaner suitable for the specific stone and finish. Avoid using vinegar or lemon juice as general stone-cleaning solutions.
For cement tile, decorative coatings, vinyl, or linoleum, consult the flooring manufacturer’s instructions.
Do not assume that “natural,” “plant-based,” or “biodegradable” means a product is appropriate for every floor. Compatibility and directions for use still matter.
Measure concentrated cleaners accurately. Extra product can leave residue and create additional rinsing work.
Follow a Simple Mopping Routine
Once loose dirt is removed:
Prepare the cleaner according to its label.
Test an unfamiliar product in an inconspicuous area and let it dry before assessing the result.
Start away from the doorway and work toward your exit.
Mop manageable sections using the recommended amount of moisture.
Replace dirty mop pads or rinse the mop frequently.
Rinse if the cleaner’s instructions require it.
Let the floor dry before allowing foot traffic or replacing rugs.
Avoid leaving puddles, particularly around damaged joints, floor edges, or nearby moisture-sensitive materials.
If using a two-bucket method, keep cleaning solution in one bucket and rinse water in the other. Change both as they become dirty; a second bucket does not keep the cleaning solution clean indefinitely.
Keep children and pets away while cleaning and follow the label’s instructions for when the area can be used again.
Give Busy Areas Extra Attention
The entire floor may not need the same amount of work each time.
Check the kitchen near food preparation areas, the entrance where shoes bring in dirt, and the space beneath the dining table. Spot cleaning these areas can fit between fuller mopping sessions.
Move lightweight objects when practical. Avoid dragging furniture or moving heavy, connected appliances just to complete a routine clean.
Wash reusable mop pads and cloths according to their care instructions and let them dry before storage.
Include Grout in Regular Care
Look at the grout while you clean. Remove surface soil with a compatible product and an appropriate soft brush where needed.
Avoid vigorous scrubbing or homemade mixtures on unfamiliar grout, sealers, or color coatings. Stop if joints are crumbling or coming loose.
Sealing requirements vary. Some grout products require no sealer, so check the instructions for your installation before adding one. Sealer is not a substitute for cleaning or repair.
If the floor feels sticky after drying, review how much cleaner you used and whether rinsing was required. Check that the mop pad and water were clean.
Follow the cleaner’s instructions for removing residue before applying another product.
A cloudy or dull patch does not always mean leftover soap. Mineral deposits, scratches, etching, installation residue, or a worn coating can also affect appearance. Persistent problems need identification before further treatment.
Use Steam Only When Approved
Do not assume that every ceramic or porcelain installation is suitable for a steam mop. Check the flooring, grout, and coating instructions, along with the machine’s directions.
If compatibility is unclear, ask the flooring manufacturer before using steam. Routine damp cleaning with an approved product is a practical option while you confirm the correct method.
Build a Schedule Around Your Home
Use this as a flexible starting point:
As needed: Address spills and visible dirt.
During regular household cleaning: Check busy areas and mop where necessary.
Periodically: Inspect corners, grout, rugs, and furniture pads for accumulated soil or damage.
When ordinary cleaning stops working: Identify the cause before choosing a deeper treatment.
Cleaning frequency will vary with pets, household size, weather, and foot traffic. The aim is a routine you can maintain without unnecessary scrubbing or product use.
For help with household cleaning, contact Aquastar Cleaning to discuss your flooring and cleaning needs.
Vinegar should not be treated as a reliable, all-purpose solution for household mildew. Its suitability depends on the surface, and spraying it does not establish that hidden growth has been removed or that the moisture problem is resolved.
For a household mold problem, the priorities are identifying the affected material, choosing an appropriate cleanup method, and correcting the source of dampness. A cleaner alone cannot fix a leak or persistent condensation.
Why a Simple “Yes” Is Misleading
Claims that vinegar kills a fixed percentage of all mold species are not a dependable guide for cleaning your home. Results from a particular laboratory test cannot automatically be applied to every surface, concentration, or household situation.
Likewise, there is no universal vinegar soaking time that guarantees successful cleanup. A surface looking lighter or smelling less musty does not demonstrate that contamination inside a material has been addressed.
Avoid relying on promises that vinegar penetrates every porous surface, kills all the “roots,” or leaves a lasting barrier against future growth.
Removing Growth Matters More Than Whitening a Stain
EPA explains that killing mold is not enough: it must also be removed, because dead mold may still cause allergic reactions.
EPA does not recommend bleach or other biocides as a routine requirement for every mold-cleanup job. That does not mean bleach only changes the color of mold or that vinegar is always a better alternative.
Choose a method appropriate to the material and situation. If using a commercial product, follow its directions for permitted surfaces, application, ventilation, and any required contact time.
Decide Whether the Job Is Suitable for Household Cleanup
EPA says that, in many cases, an area smaller than about 10 square feet can be handled by the homeowner. Size is only one consideration.
Seek experienced help for extensive water damage, larger areas, sewage contamination, or suspected mold inside an HVAC system. Do not run an HVAC system you know or suspect is mold-contaminated.
If you have health concerns, consult a health professional before starting cleanup.
A recurring patch, damaged wall, or persistent musty odor deserves investigation rather than repeated spraying with a different cleaner.
Clean Suitable Hard Surfaces and Dry Them
For manageable mold growth on suitable hard surfaces, EPA recommends detergent and water followed by complete drying. Use tools and products compatible with the finish.
Porous materials such as moldy ceiling tiles or carpet may need disposal because growth can be difficult to remove completely. Do not soak drywall or other absorbent building materials with vinegar in an attempt to reach hidden growth.
Do not paint or caulk over mold. Address the contamination and moisture first.
Cleaning may leave discoloration or reveal existing damage. Restoring the original appearance is not always possible.
Check Surface Compatibility Before Using Vinegar
Vinegar is acidic, which limits where it belongs in a cleaning routine.
Acidic cleaners can etch calcium-based natural stone, including marble and limestone. The Natural Stone Institute also advises against acidic cleaners on siliceous stone because acid-sensitive minerals may be present.
Cement-based grout can also be damaged by acids. The Tile Council of North America explains that acids dissolve the cement component of this grout.
For wood finishes, fixtures, coatings, and specialty surfaces, follow the manufacturer’s instructions. Do not assume vinegar is suitable because it is a food ingredient.
Testing a hidden area may help reveal a finish reaction, but it does not prove that a treatment removes mold from inside a material.
Never Mix Cleaning Products
Never combine vinegar with bleach. Mixing an acid with chlorine bleach can release dangerous chlorine gas.
Do not add vinegar to another cleaner or apply it over bleach residue. Avoid homemade combinations with peroxide, essential oils, or other additives.
Follow product instructions when changing cleaning methods. If you do not know what was previously applied, establish that before introducing another chemical.
Stronger vinegar is not a sensible shortcut. Increasing acidity can increase the risk of exposure and surface damage without establishing an effective mold-removal process.
Address the Moisture Source
CDC recommends keeping indoor humidity no higher than 50%, using bathroom and kitchen exhaust fans that vent outdoors, and repairing leaks.
A humidity meter can help you understand whether a room stays damp. An appropriately maintained dehumidifier may help where needed, but it cannot repair leaking plumbing or water entering through a wall.
After bathing, remove excess water from suitable shower surfaces and allow wet items to dry. Follow appliance instructions when using ventilation or dehumidification equipment.
If growth returns, review the source of moisture. Repeated cleaning without correcting that source is unlikely to provide a lasting result.
Frequently Asked Questions
Should I leave vinegar on the surface to prevent mildew?
Do not rely on a leftover vinegar film as a preventive treatment. Follow the surface and cleaning-product instructions, including any rinsing requirements. Moisture control is the essential ongoing task.
Does a remaining stain mean the cleanup failed?
Not necessarily. Discoloration can remain after cleaning, but appearance alone also cannot confirm that hidden contamination is gone. Persistent dampness, odor, or renewed growth calls for further assessment.
Can ordinary house cleaning solve every mildew problem?
No. Routine cleaning and mold remediation are different services. Hidden growth, contaminated building materials, and water damage may require a specialist.
For ordinary household-cleaning enquiries, contact Aquastar Cleaning and describe the affected area. Confirm the appropriate service scope before booking; suspected mold remediation should be discussed with a qualified specialist.
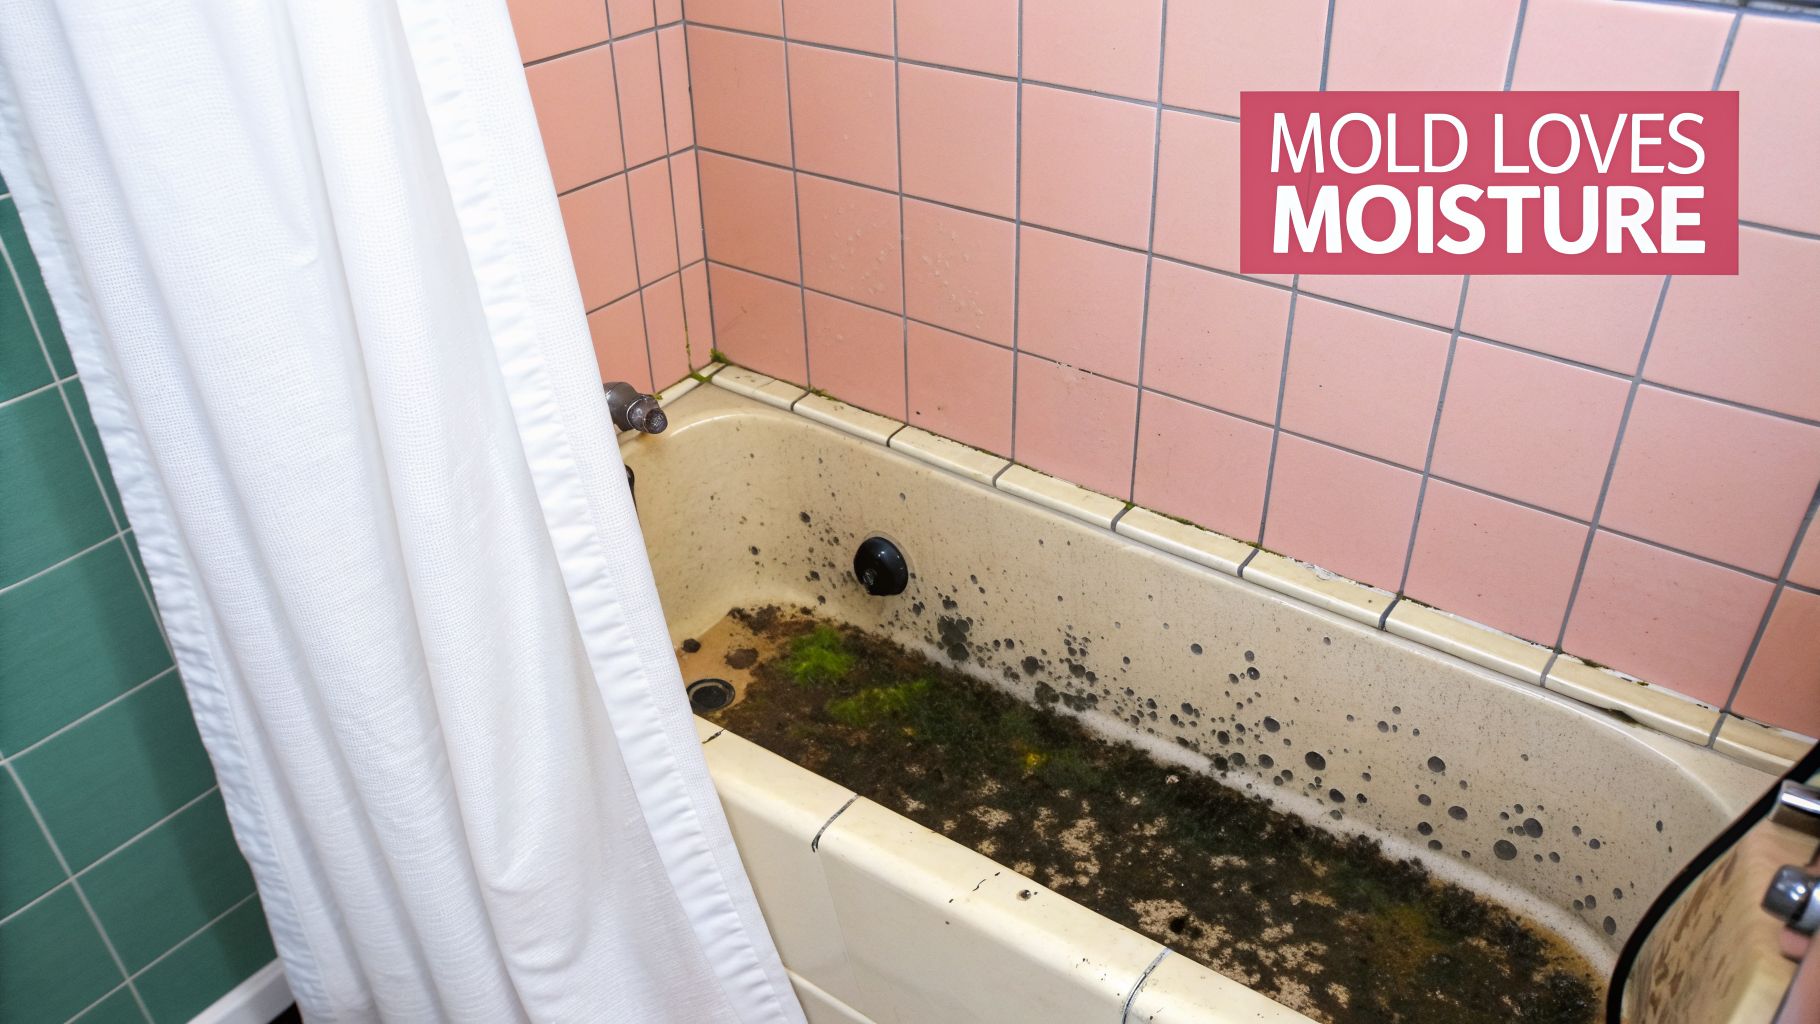
Cleaning bathtub mold involves more than removing dark marks. You need to consider the affected surface, clean it appropriately, and address the moisture that allows growth to return.
This guide focuses on small, accessible areas around a bathtub. Recurring growth, damaged walls, and suspected hidden contamination require a different approach from routine bathroom cleaning.
Assess the Area Before Cleaning
Look at the tub, surrounding walls, joints, and nearby floor. Note whether the problem is limited to the exposed surface or accompanied by loose tiles, damaged seals, soft wall material, or persistent dampness.
EPA says homeowners can often handle mold affecting less than about 10 square feet. That is a general guideline, not a guarantee that every smaller problem is suitable for DIY cleanup. Extensive water damage, contaminated water, and health concerns can change the decision. Consult an experienced professional when the situation is uncertain. EPA mold cleanup guidance
Do not identify a substance or judge its risk by color alone. A dark mark may need assessment, and its appearance does not tell you which mold species is present.
Identify the Tub and Surrounding Materials
Check the care instructions for your bathtub before choosing a cleaner or tool. Acrylic, fiberglass, porcelain enamel, natural stone, and refinished surfaces may require different products.
Include the surrounding materials in that check:
Wall tile and grout
Caulk and other flexible seals
Metal fixtures and decorative finishes
Shower screens, curtains, and bath mats
Any coating applied during refinishing
A product approved for the tub may not suit its fixtures or grout sealer. If the finish is unknown, ask the manufacturer, installer, or refinisher before using stronger chemicals or abrasive tools.
Keep other people away from the immediate cleaning area and arrange ventilation before beginning.
EPA recommends protective gloves, goggles without ventilation holes, and an N95 respirator to reduce exposure during mold cleanup. Follow the respirator’s fitting instructions and choose gloves appropriate for the cleaning product. EPA guide to mold and moisture
An N95 filters particles; it does not protect against chemical gases or vapors. Wearing one does not make it safe to use a cleaner in an inadequately ventilated bathroom. CDC guidance on respirator protection
If you have asthma, a mold allergy, a weakened immune system, or other health concerns, seek medical advice before taking on mold cleanup. CDC information about mold
Clean Small Areas on Suitable Hard Surfaces
For hard surfaces, EPA recommends removing mold with detergent and water, followed by thorough drying. Confirm that the detergent and cleaning tool are compatible with the surface first. EPA cleanup instructions
Work carefully through the affected area:
Read the surface-care instructions and cleaner label.
Move bottles and removable accessories so you can reach the surface.
Apply the cleaner using the specified method and dilution.
Clean gently with a compatible cloth, sponge, or brush.
Remove loosened material and rinse as directed.
Dry the surface and inspect the joints and edges.
Avoid escalating to harder scrubbing simply because discoloration remains. Staining, finish damage, and remaining contamination are different problems; appearance alone cannot establish that cleanup is complete.
Use Cleaning Products as Directed
EPA does not recommend bleach or other biocides as a routine requirement for every mold cleanup. Killing mold alone is insufficient because the material must also be removed. EPA guidance on bleach and mold
If you choose a commercial product, check that its label permits the intended surface and use. Follow its application, ventilation, contact-time, and rinsing instructions rather than adopting a general soaking time.
Never mix bleach with vinegar, ammonia, or other cleaners. Do not layer products over residues from an earlier treatment. Follow label directions before changing products. CDC cleaning precautions
Homemade vinegar, baking soda, or essential-oil mixtures should not be treated as a dependable substitute for an appropriate cleanup method. For more context, read Does Vinegar Kill Mildew?.
Check Caulk, Grout, and Nearby Walls
Cleaning will not repair a cracked joint, detached seal, or water-damaged wall. If a joint is failing, have the underlying condition assessed before deciding how to repair it.
Do not cover moldy areas with new paint or caulk. Moldy porous materials may need replacement when they cannot be cleaned adequately. EPA guidance on affected materials
Repeated discoloration in the same seam deserves attention, especially when accompanied by dampness or an ongoing musty smell. A plumber can investigate a suspected plumbing leak; an experienced mold-remediation professional can assess contamination.
Reduce Moisture After Bathing
CDC recommends bathroom exhaust fans that discharge outdoors and indoor humidity no higher than 50%. A humidity meter can help you identify a persistent moisture problem. CDC mold prevention guidance
Build a routine around the conditions in your bathroom:
Run the exhaust fan during bathing and afterward as needed to clear moisture.
Remove standing water from compatible surfaces.
Spread out the shower curtain so its folds can dry.
Clean and dry removable mats according to their care labels.
Reduce clutter that traps water around bottles and accessories.
Arrange repairs for dripping fixtures and failed seals.
Choose cleaning frequency based on use and visible buildup. A fixed weekly or monthly schedule cannot guarantee that mold will stay away.
Know When Routine Cleaning Is Not Enough
Seek further assessment if growth spreads, returns after cleaning, or appears alongside damaged building materials. Persistent odor or dampness also warrants investigation.
When hiring help, describe the affected area and ask whether the provider handles routine cleaning, moisture repairs, or mold remediation. These services have different scopes.
For routine bathroom cleaning, contact Aquastar Cleaning Services to discuss your needs. Suspected hidden mold or water damage should be assessed before arranging ordinary housekeeping.
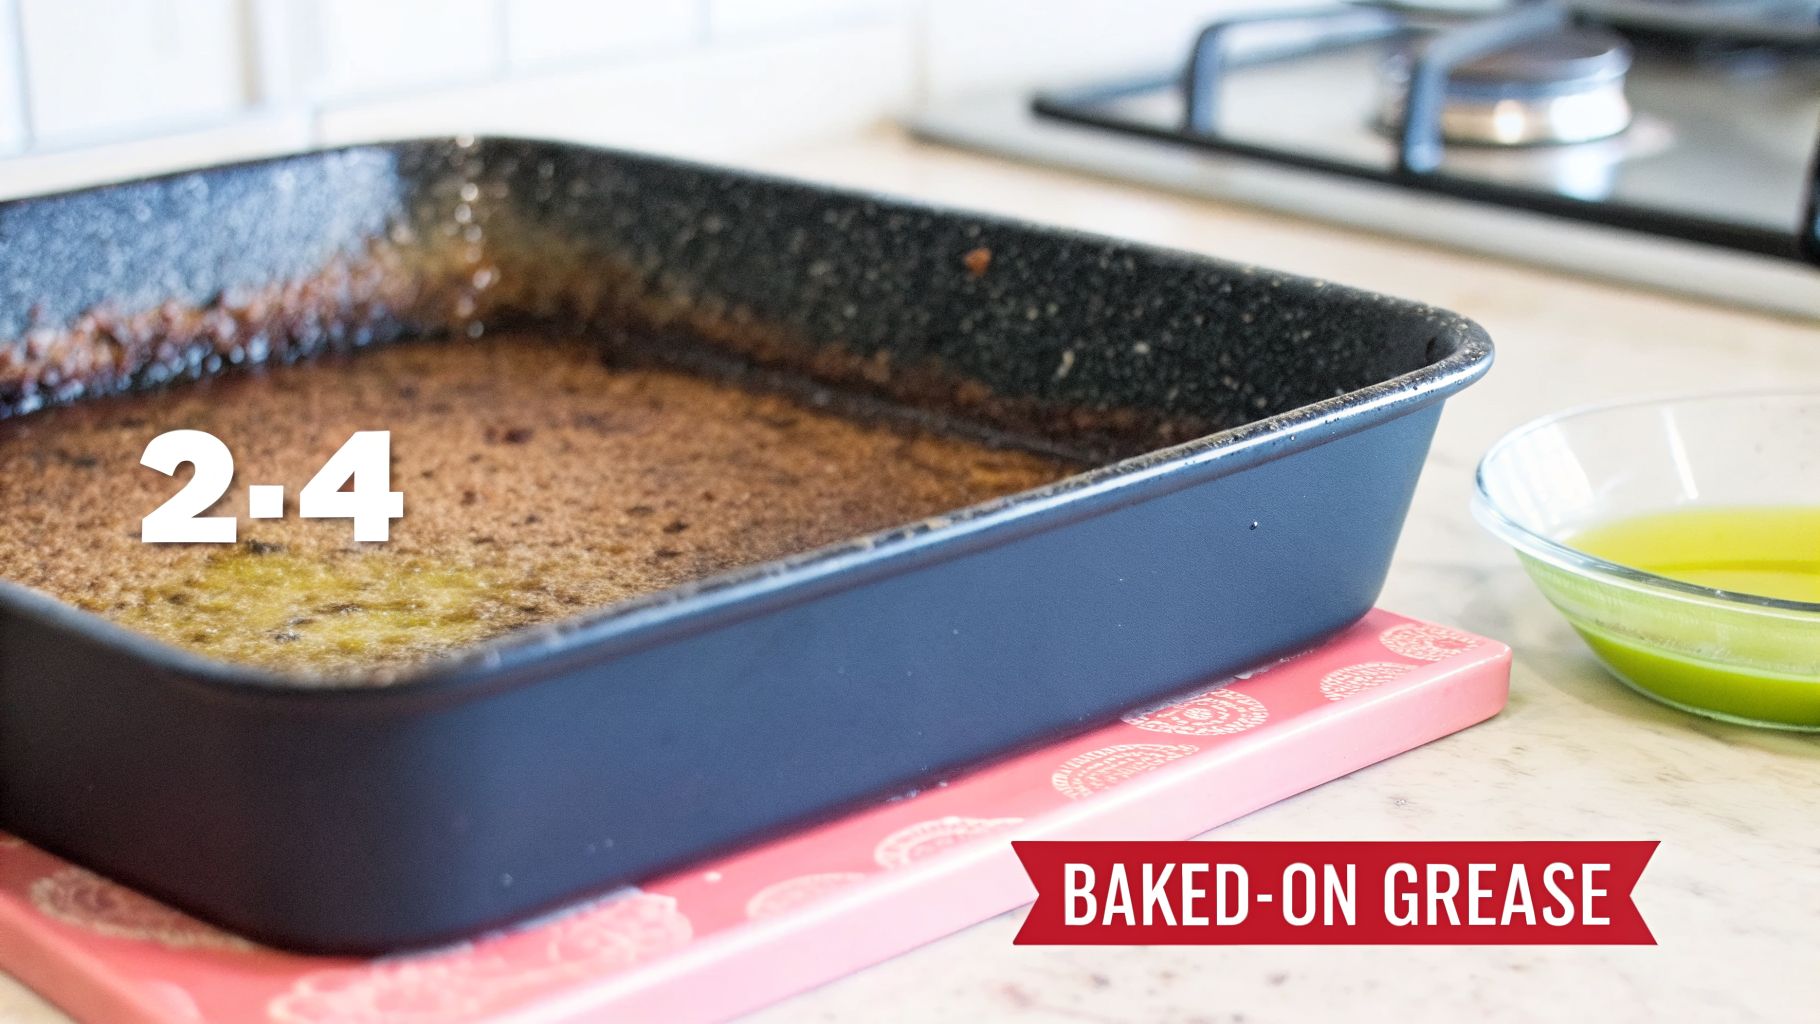
Baked-on grease can leave cookware and appliances covered in stubborn brown or black residue. Removing it starts with identifying the surface and choosing a cleaning method approved for that material.
A method suitable for an uncoated stainless steel pan may damage a nonstick coating, aluminum baking sheet, or oven interior. Begin gently, follow the manufacturer’s instructions, and avoid assuming that stronger cleaners or harder scrubbing will produce better results.
Check the Surface Before Cleaning
Identify what you are cleaning: stainless steel, nonstick cookware, seasoned cast iron, enamel, glass, or an appliance coating.
Look for peeling coatings, cracks, corrosion, or damaged finishes. Cleaning cannot repair these problems. If you cannot identify the material or its condition concerns you, ask the manufacturer before continuing.
For routine cleaning, turn appliances off and allow surfaces to cool. Follow any special manufacturer instructions for spills that require prompt treatment, particularly on glass cooktops.
Gather Suitable Supplies
Start with:
Soft cloths and a nonabrasive sponge
Dishwashing liquid suitable for the item
Warm water for washable cookware
A scraper only if approved for the surface
A specialist cleaner when recommended by the manufacturer
Protective equipment specified on the cleaner’s label
Read directions for dilution, application time, ventilation, and rinsing. Never mix cleaning products. Descriptions such as “natural” or “eco-friendly” do not establish whether a product is suitable for your cookware or appliance.
Start with the Gentlest Approved Method
Remove loose food without scraping the finish. Wash removable, washable items using their recommended method.
Where soaking is permitted, warm soapy water can help loosen food before gentle cleaning. Do not apply this advice to every material: seasoned cast iron, for example, should not be left soaking.
Use the cleaner for its specified application time. Leaving a product overnight is not automatically more effective or appropriate.
If residue remains, repeat the approved method or consult the manufacturer about a suitable next step.
Stainless Steel Pans
Let the pan cool before washing. Begin with dishwashing liquid and a soft sponge, following the cookware’s care instructions.
For stubborn marks, the manufacturer may recommend a specialist stainless steel cookware cleaner. Check that it is suitable for the pan’s interior and any exposed materials around its base or rim.
Avoid assuming that every dark mark is removable grease. Heat discoloration and surface damage can require different treatment.
Use the manufacturer’s recommended cleaner and gentle tools. Avoid aggressive scraping and abrasive products unless specifically permitted.
Do not apply oven cleaner to a pan simply because the residue resembles an oven spill. Cookware coatings may have different restrictions.
If a coating is peeling or flaking, consult the manufacturer about replacement rather than trying to scrub the damaged area smooth.
Seasoned Cast Iron
A dark surface on seasoned cast iron is not necessarily unwanted buildup. The seasoning is part of the cooking surface and should not be stripped during routine cleaning.
Follow the cookware’s care instructions to remove food, dry thoroughly, and maintain the seasoning. Lodge advises against soaking seasoned cast iron and provides a dedicated cleaning routine in its cast iron care guide.
Enameled cast iron requires a different approach; follow instructions for the enamel finish.
Oven Interiors
Find the cleaning section of your oven manual before applying anything inside. Standard-clean, self-clean, and steam-clean models may have different requirements.
Use only the products and cleaning cycle permitted for your model. Follow instructions for removing racks and accessories, and keep cleaning products away from areas the manual excludes, such as heating elements, vents, and door seals.
Do not coat the entire cavity with a homemade paste or assume a commercial oven cleaner is compatible. GE’s guidance, for example, distinguishes between standard-clean ovens and self-clean ovens.
Cooktops and Burner Grates
For glass cooktops, use the cleaner and tools specified by the appliance manufacturer. Do not substitute an old credit card, abrasive pad, or scraper without checking suitability.
Sugar spills and melted plastic may require special instructions. Consult the manual rather than treating them as ordinary grease.
Remove gas burner grates only when safe to handle. Their coatings and materials determine whether soaking or particular cleaners are appropriate. Avoid improvising an overnight ammonia treatment.
Range Hoods, Cabinets, and Backsplashes
Check the hood manual before removing a filter. Washable grease filters and replaceable filters need different care; not every filter belongs in a sink or dishwasher.
For cabinet fronts and backsplashes, choose products suited to the finish. Avoid a universal vinegar mixture, especially on delicate finishes or natural stone.
Our guide to cleaning greasy kitchen cabinets explains how to approach cabinet buildup with controlled moisture and gentle wiping.
Reduce Future Buildup
Clean cooking splashes once surfaces are safe to handle, following the appliance instructions. Use appropriate cookware and maintain your range hood as directed.
Only use oven liners, foil, or drip-catching pans where the manual permits them. Placement matters because accessories can interfere with airflow or heat.
Regular attention may make later cleaning more manageable, but it does not guarantee that every stain will disappear.
When to Ask for Help
Stop if cleaning changes the surface color or texture, damages a coating, or reveals a crack. Appliance faults and damaged finishes need manufacturer or repair guidance.
For accumulated kitchen grime or a larger cleaning project, contact Aquastar Cleaning Services to discuss your needs. Confirm whether oven interiors, range hoods, or other specific tasks are included in your quote.
When you hear "cleaning service," you probably think of a standard weekly tidy-up. But for landlords and property managers, property management cleaning is a completely different ballgame. It's a specialized service designed to do one thing: get a rental unit back to "like new" condition, ready for the next tenant as fast as humanly possible.